

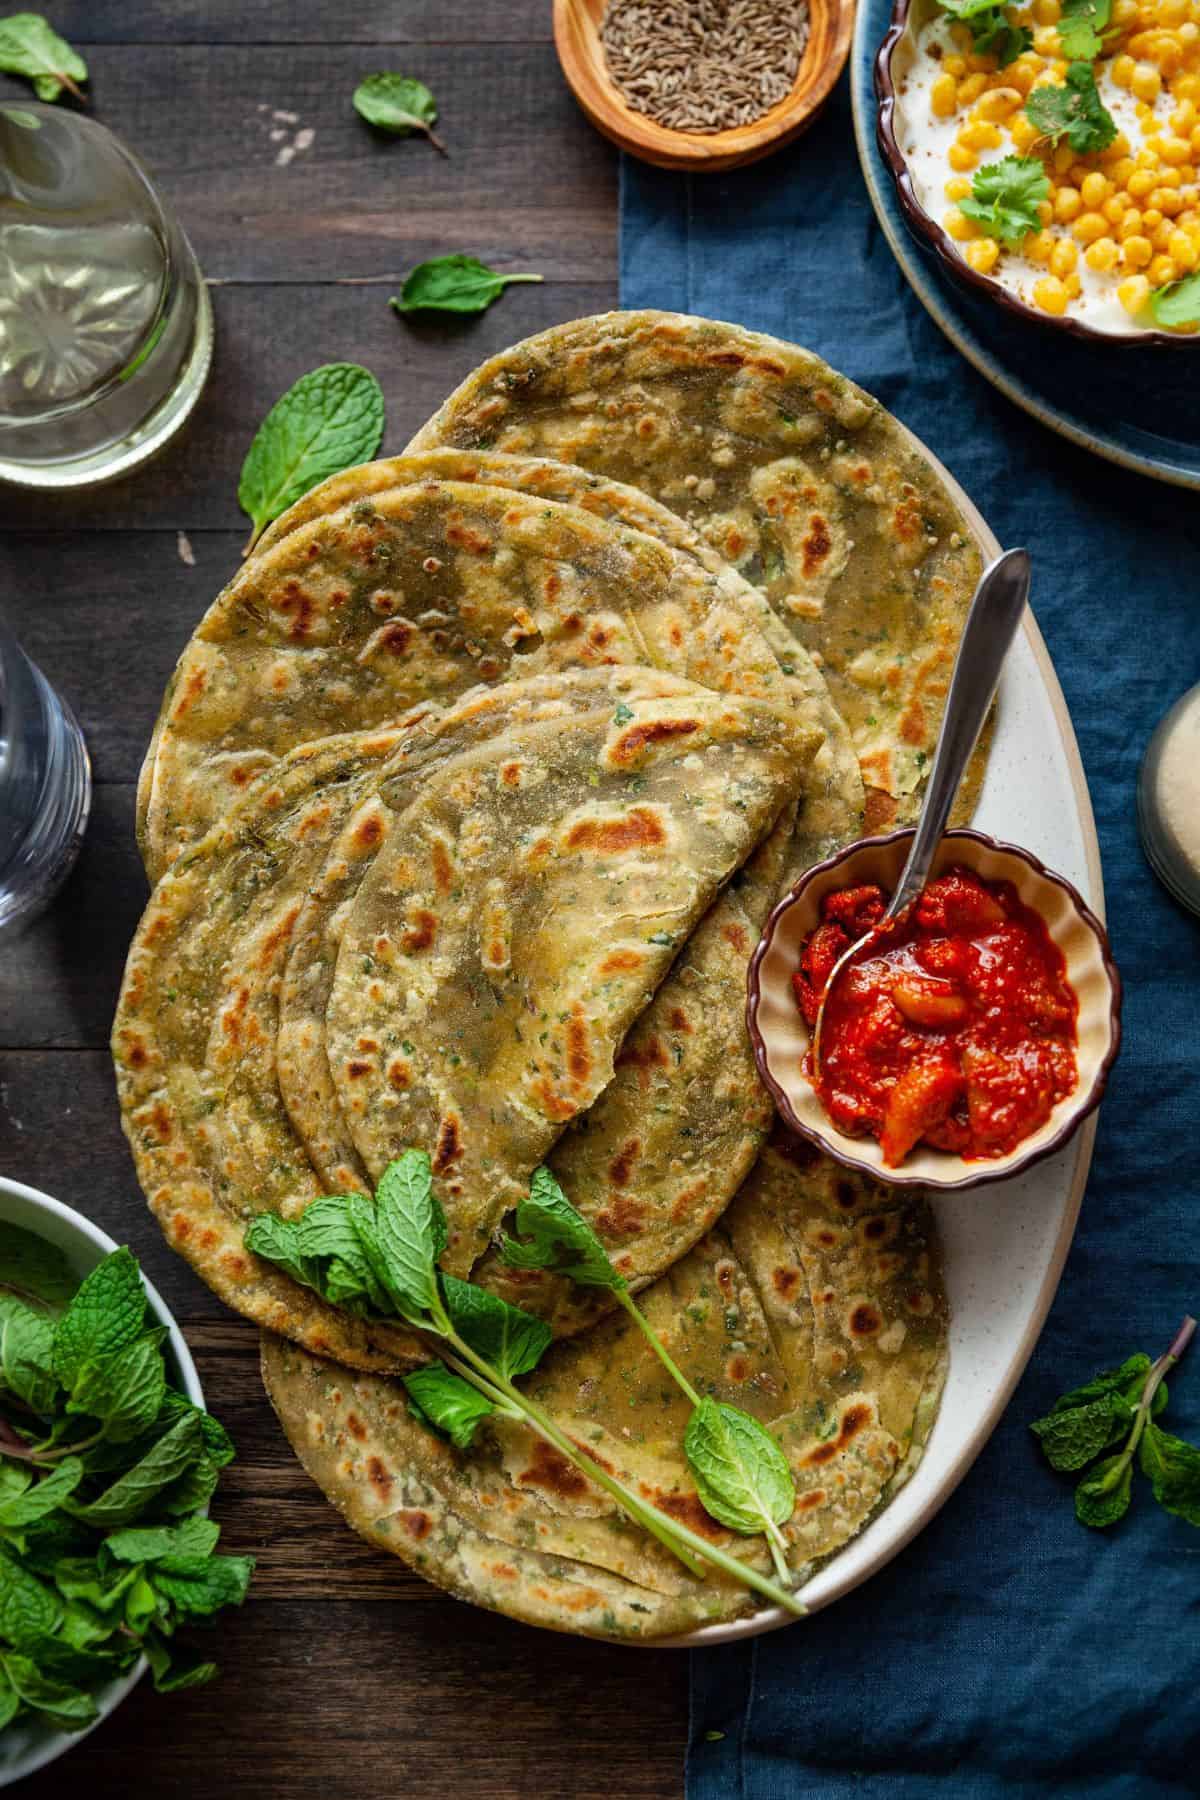
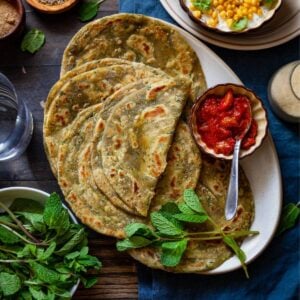
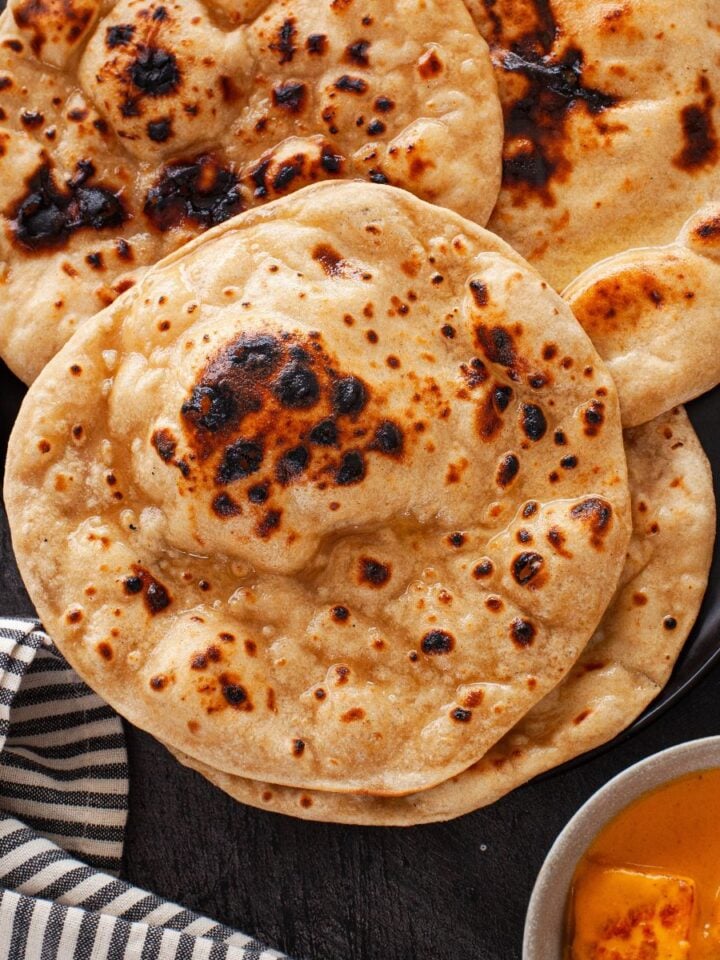
Crispy, flaky layers yet a soft, minty bite is what makes these whole wheat pudina parathas totally addictive. They are delicious on their own, and even better with your favorite curries.
Parathas, plain or stuffed were one of the most regular things mom made for us growing up.I've carried on that habit. They're a big staple in our house, probably made more than any other Indian flatbread.
About My Recipe
Indian stores here in US sell big bunches of pudina, and in the weeks following a visit, these mint parathas are on our menu. They are pretty easy to make. You make a dough with whole wheat flour, mint(I use both fresh mint & dried mint), a few ground spices, ginger and a touch of besan (which I think adds a wonderful nuttiness).
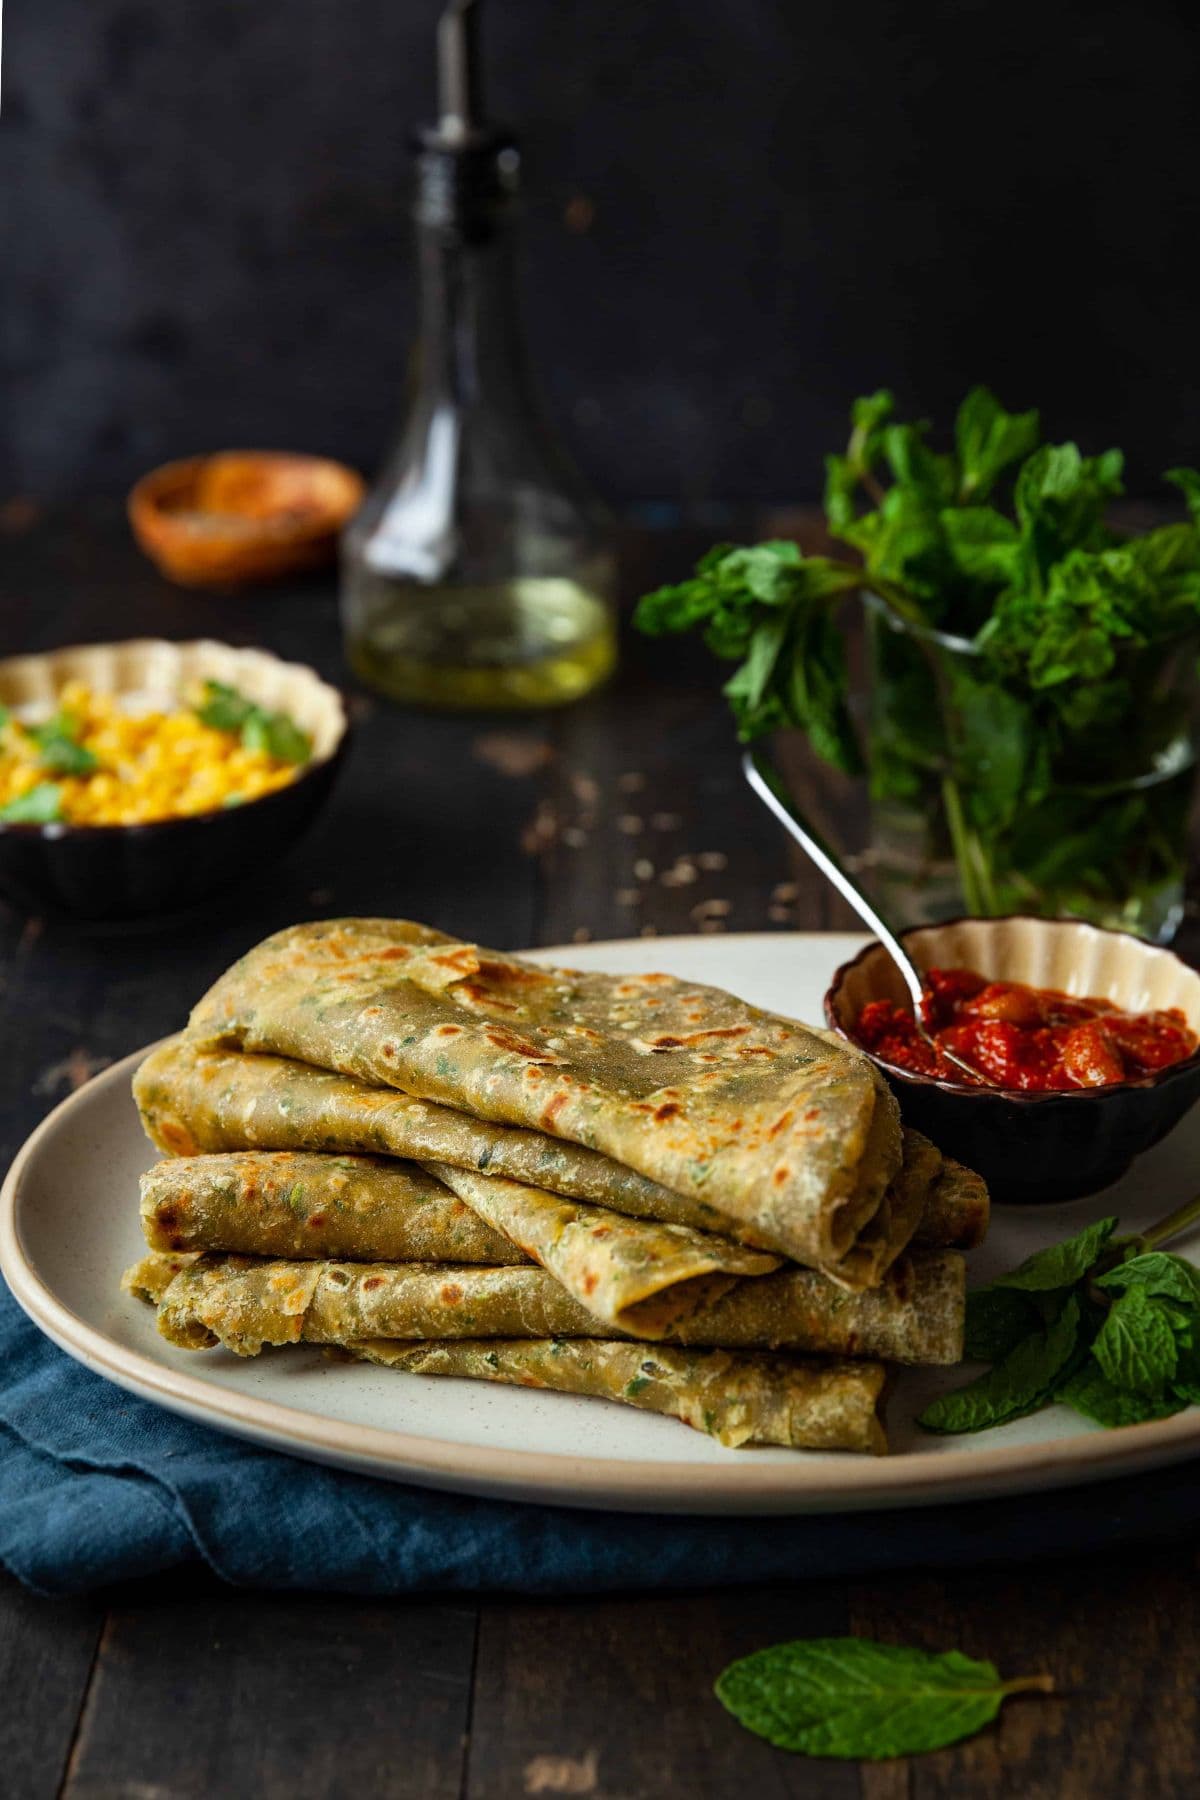
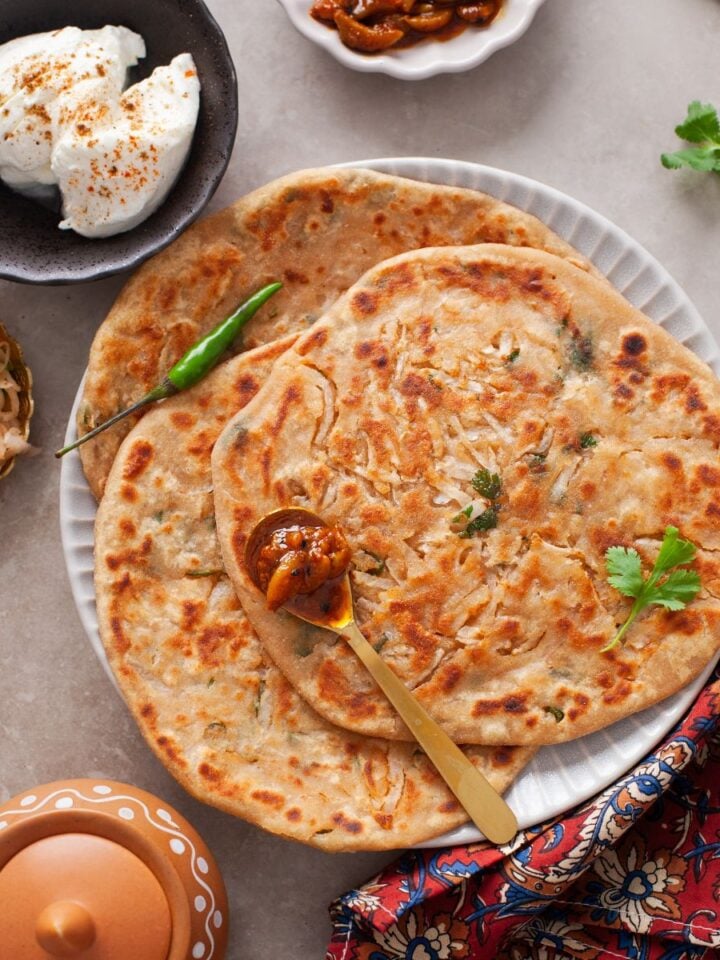
I find the combination of fresh mint and dried mint best, because only dried mint can taste a bit chalky. I roll the dough in layers, kind of similar to how we make laccha paratha in which you roll the dough out as thin as possible, spread a little oil or ghee, fold it like a fan or pleat it, and then coil it into a spiral before rolling it out again. The laccha or the layers give those lovely flaky, crispy edges.
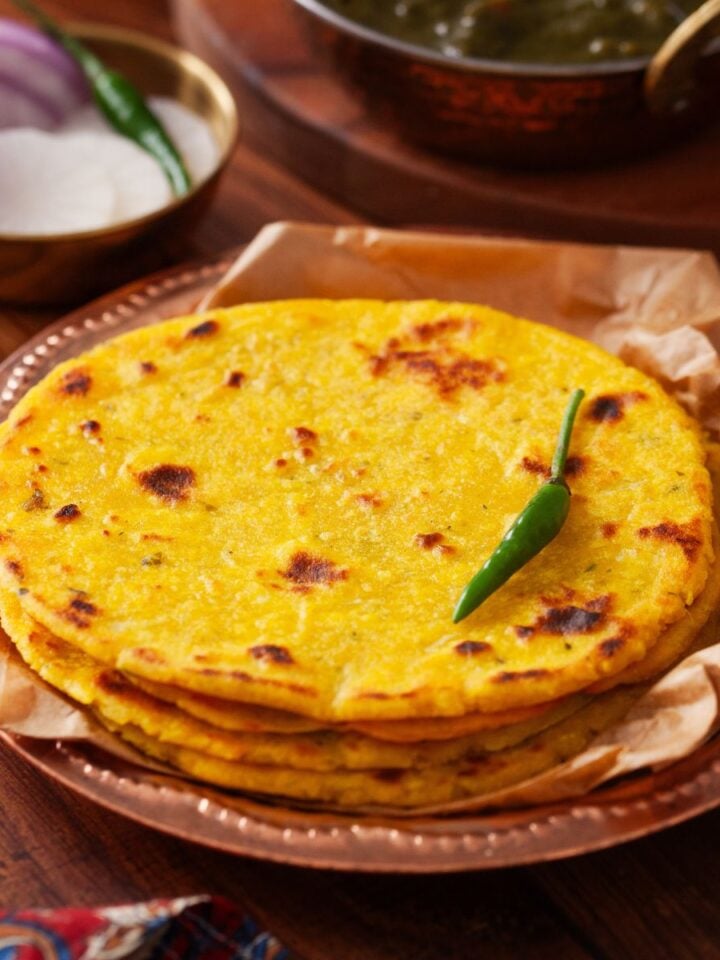
You can shape them circular or make triangle shaped parathas (like the methi parathas) if you don't want to make layered or are in a hurry. Since the dough is full of flavor, these taste good next day, rolled up with a dab of butter and paired with cup of chai.
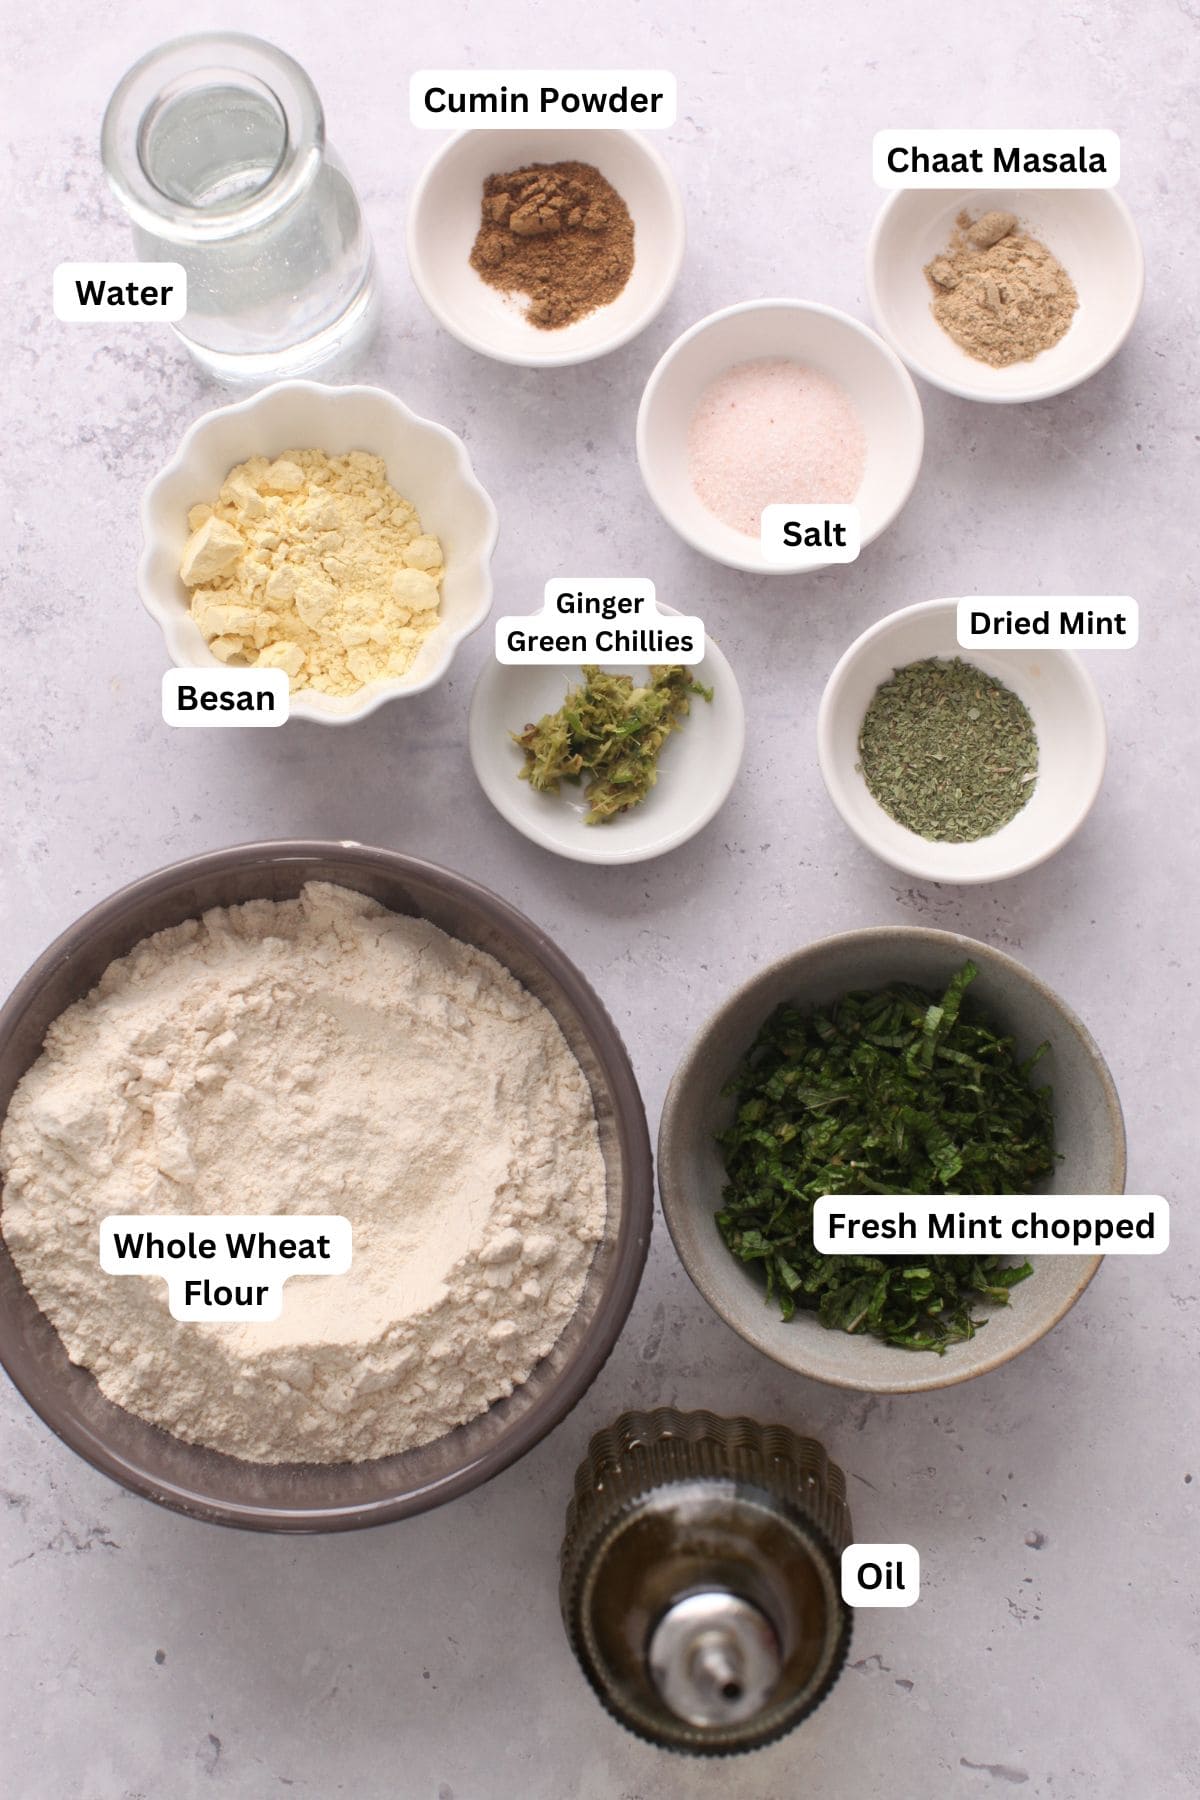
Ingredients
My Tips
- Do not skimp or skip the spices. Else they taste flat. The combination of mint with cumin and chaat masala make each bite flavorful.
- Use oil or ghee with heart, especially if you are making them laccha paratha style. Else the laccha quality wont come through because the layers will be stuck to each other.
How To Make Pudina Paratha
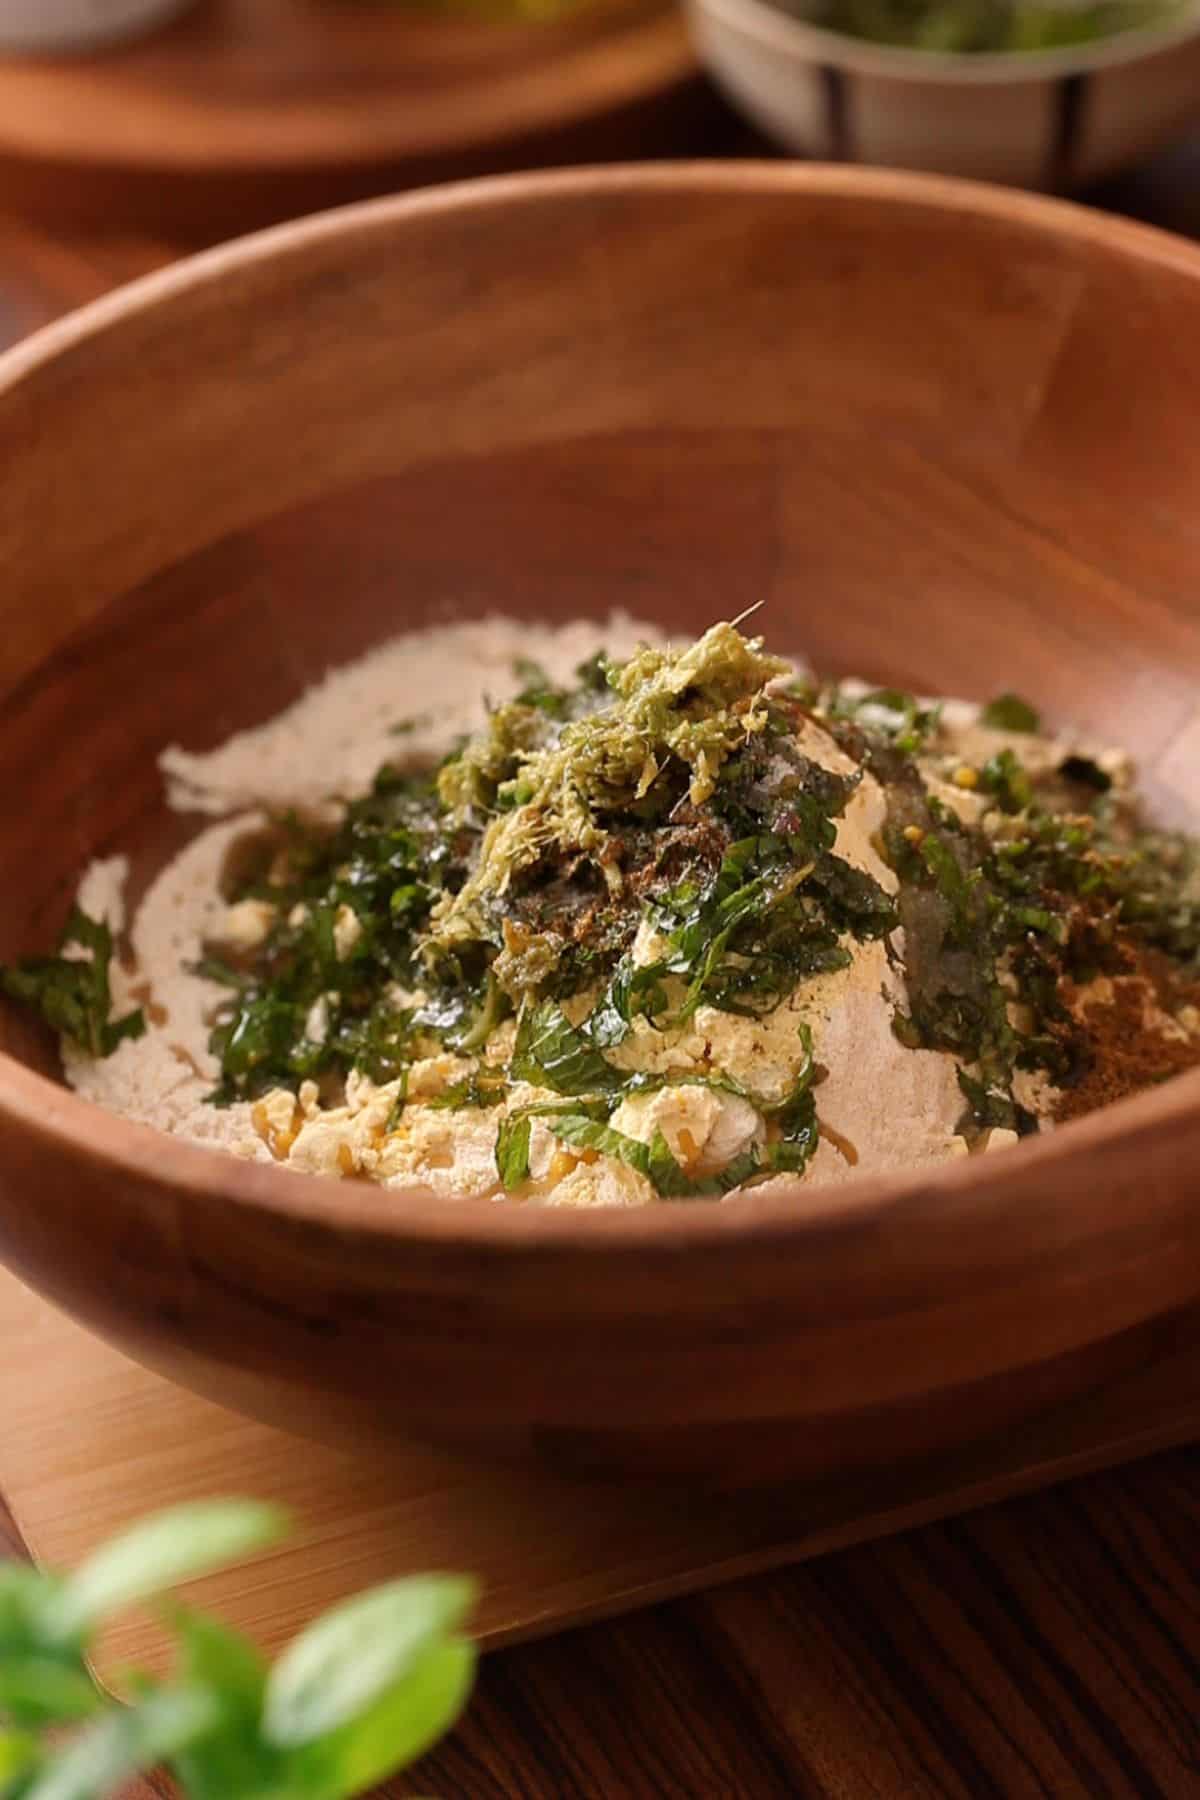
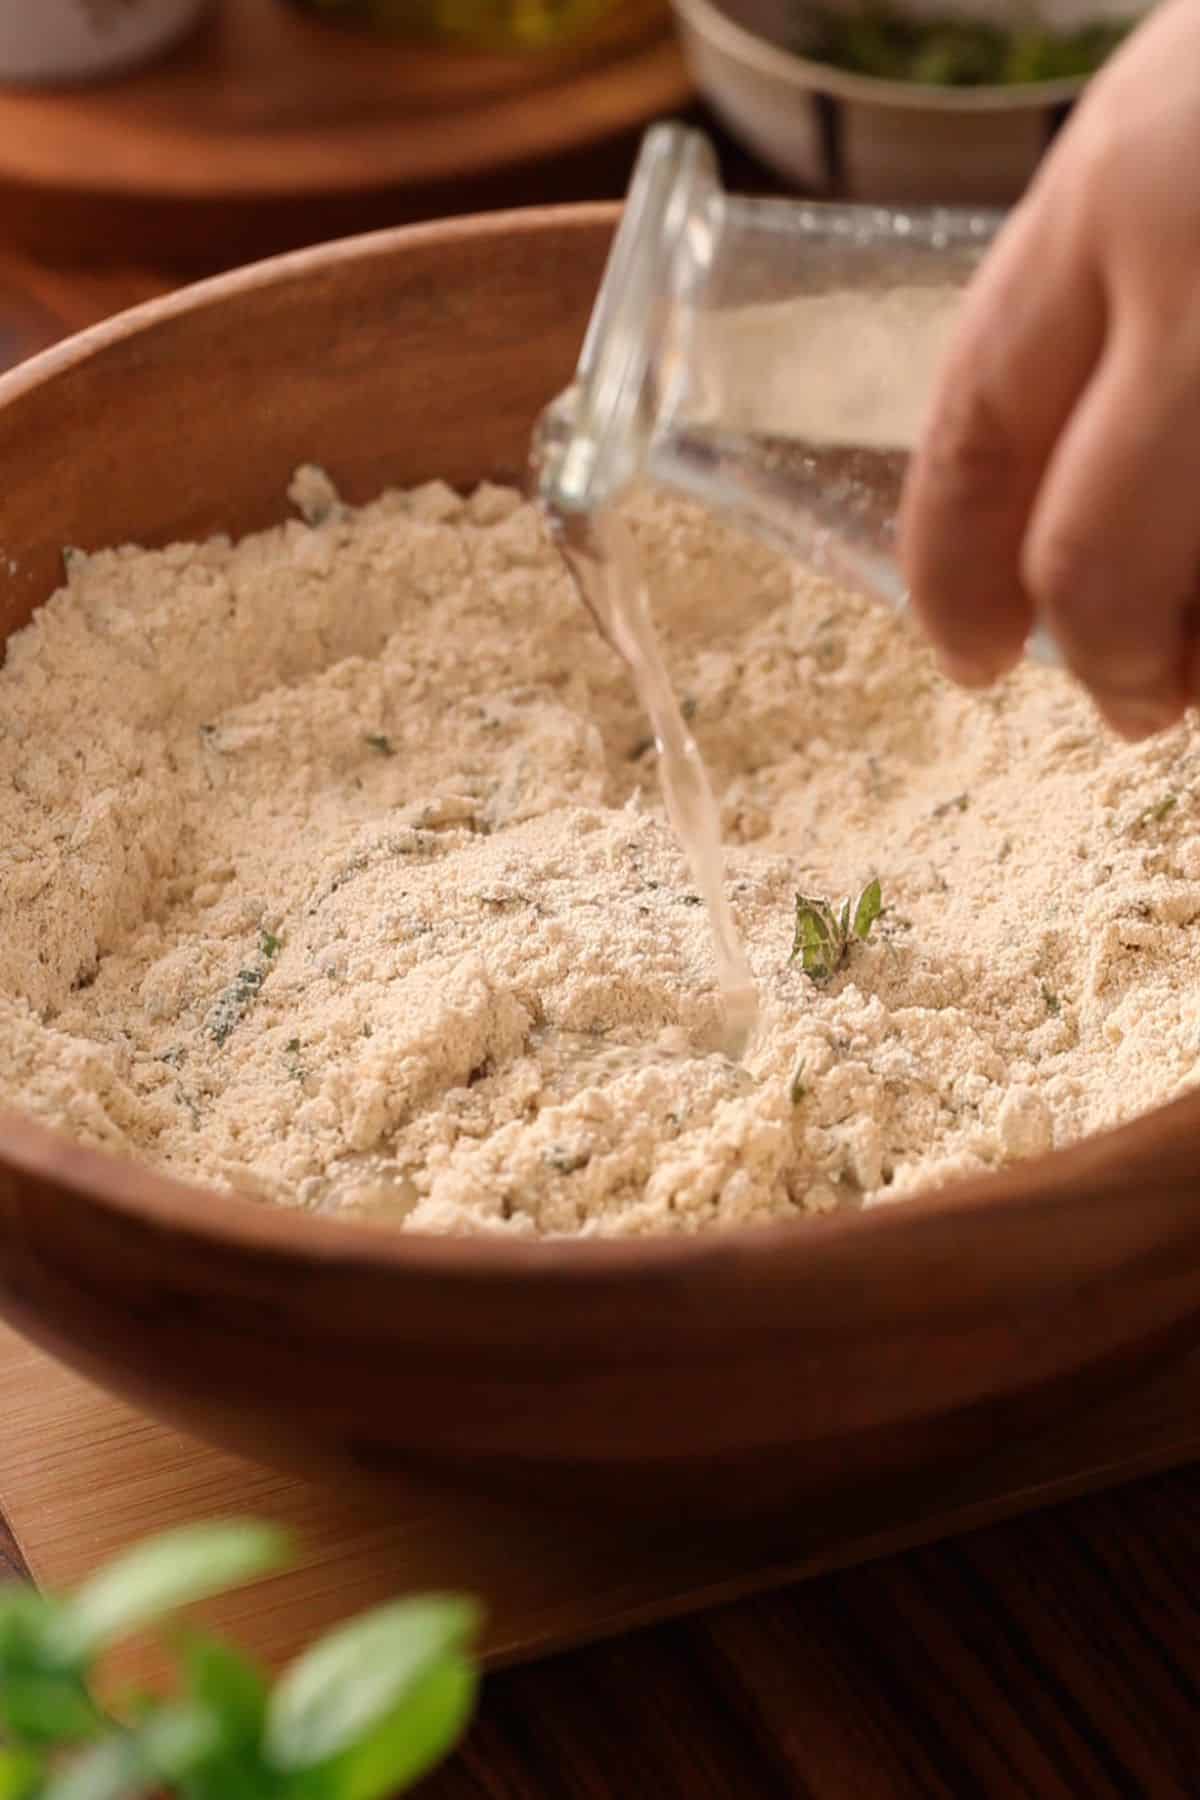
- In a large bowl, combine flour, besan, fresh and dried mint, all the spices, 2 tablespoon oil , and salt. Mix well using your fingers.
- Slowly add water, starting with ½ cup, and knead the flour mixture into a smooth, firm dough (that's not sticky or too soft). You may need around ⅔ cup water.
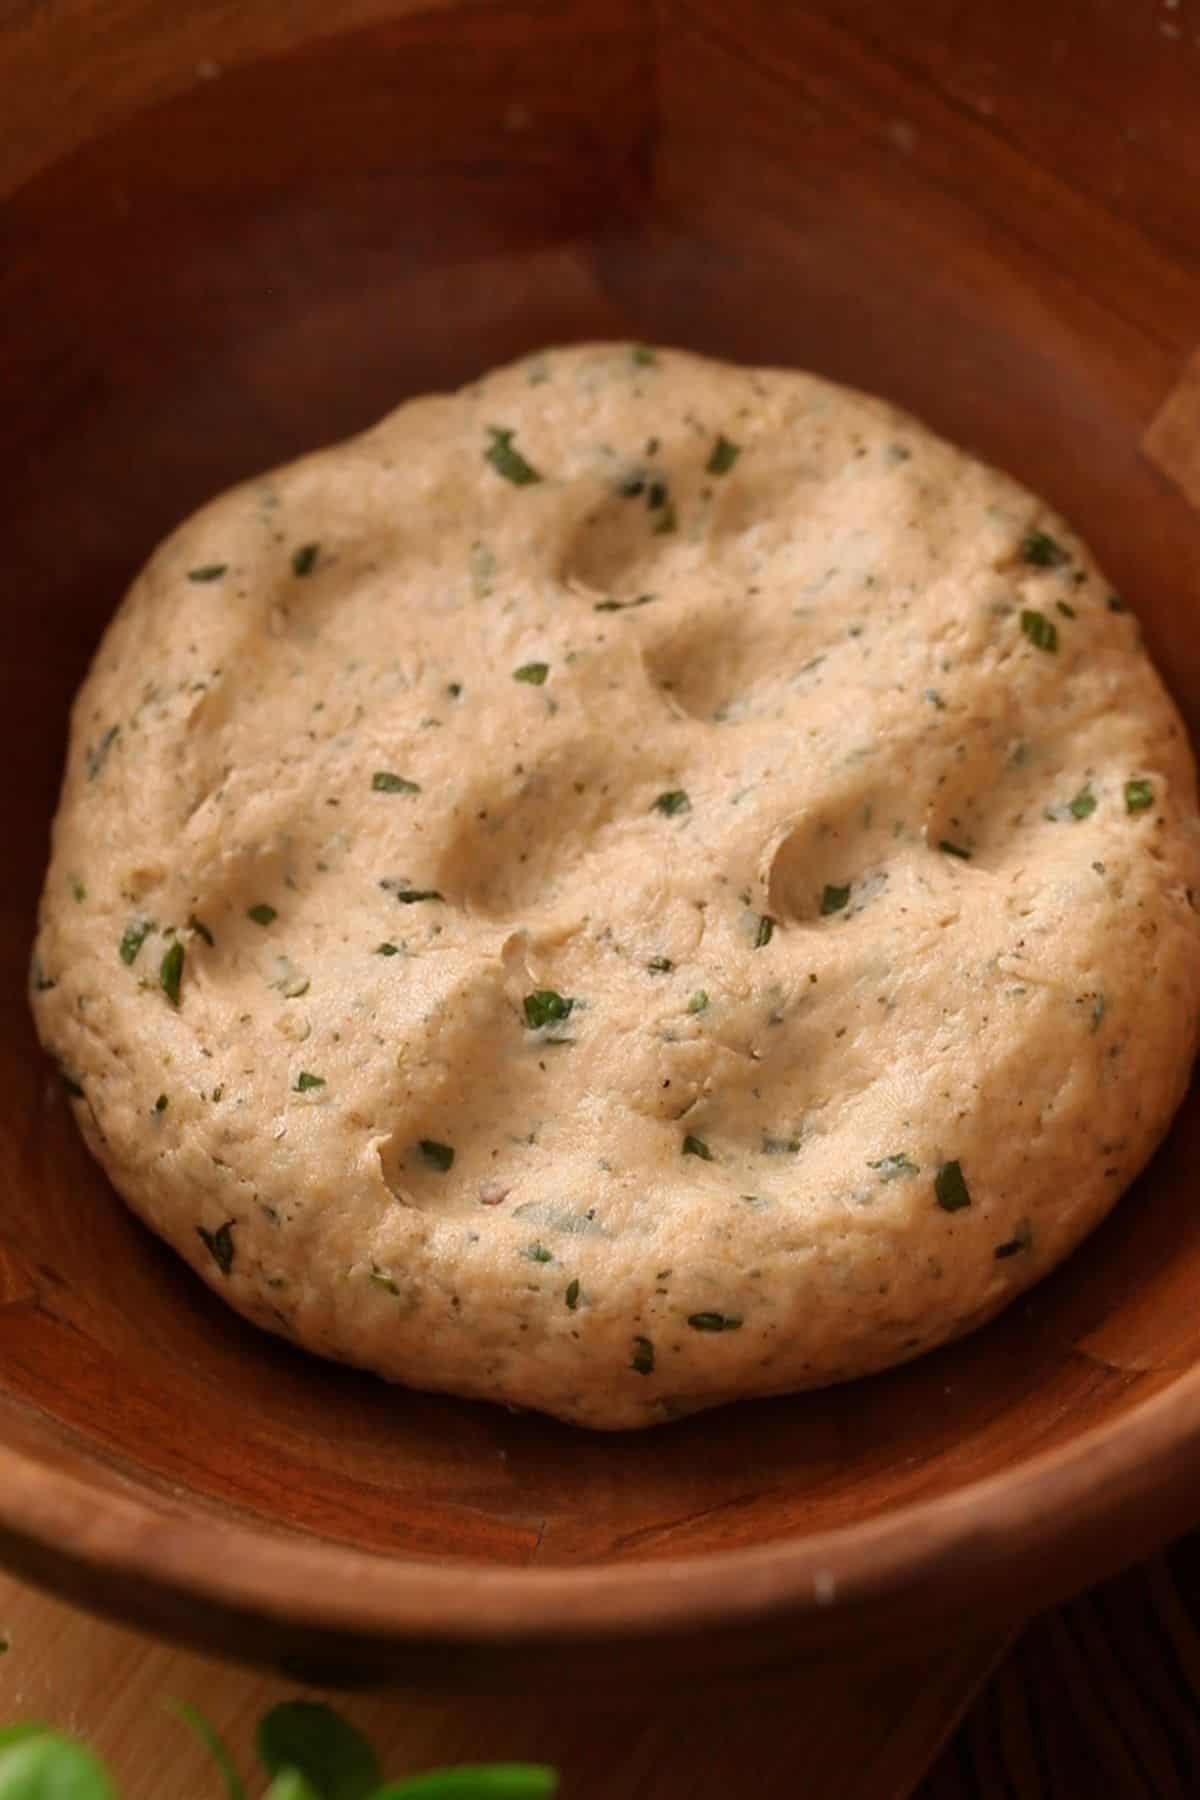
- Knead the dough for good 3-5 minutes, then cover and let rest for 30 minutes.
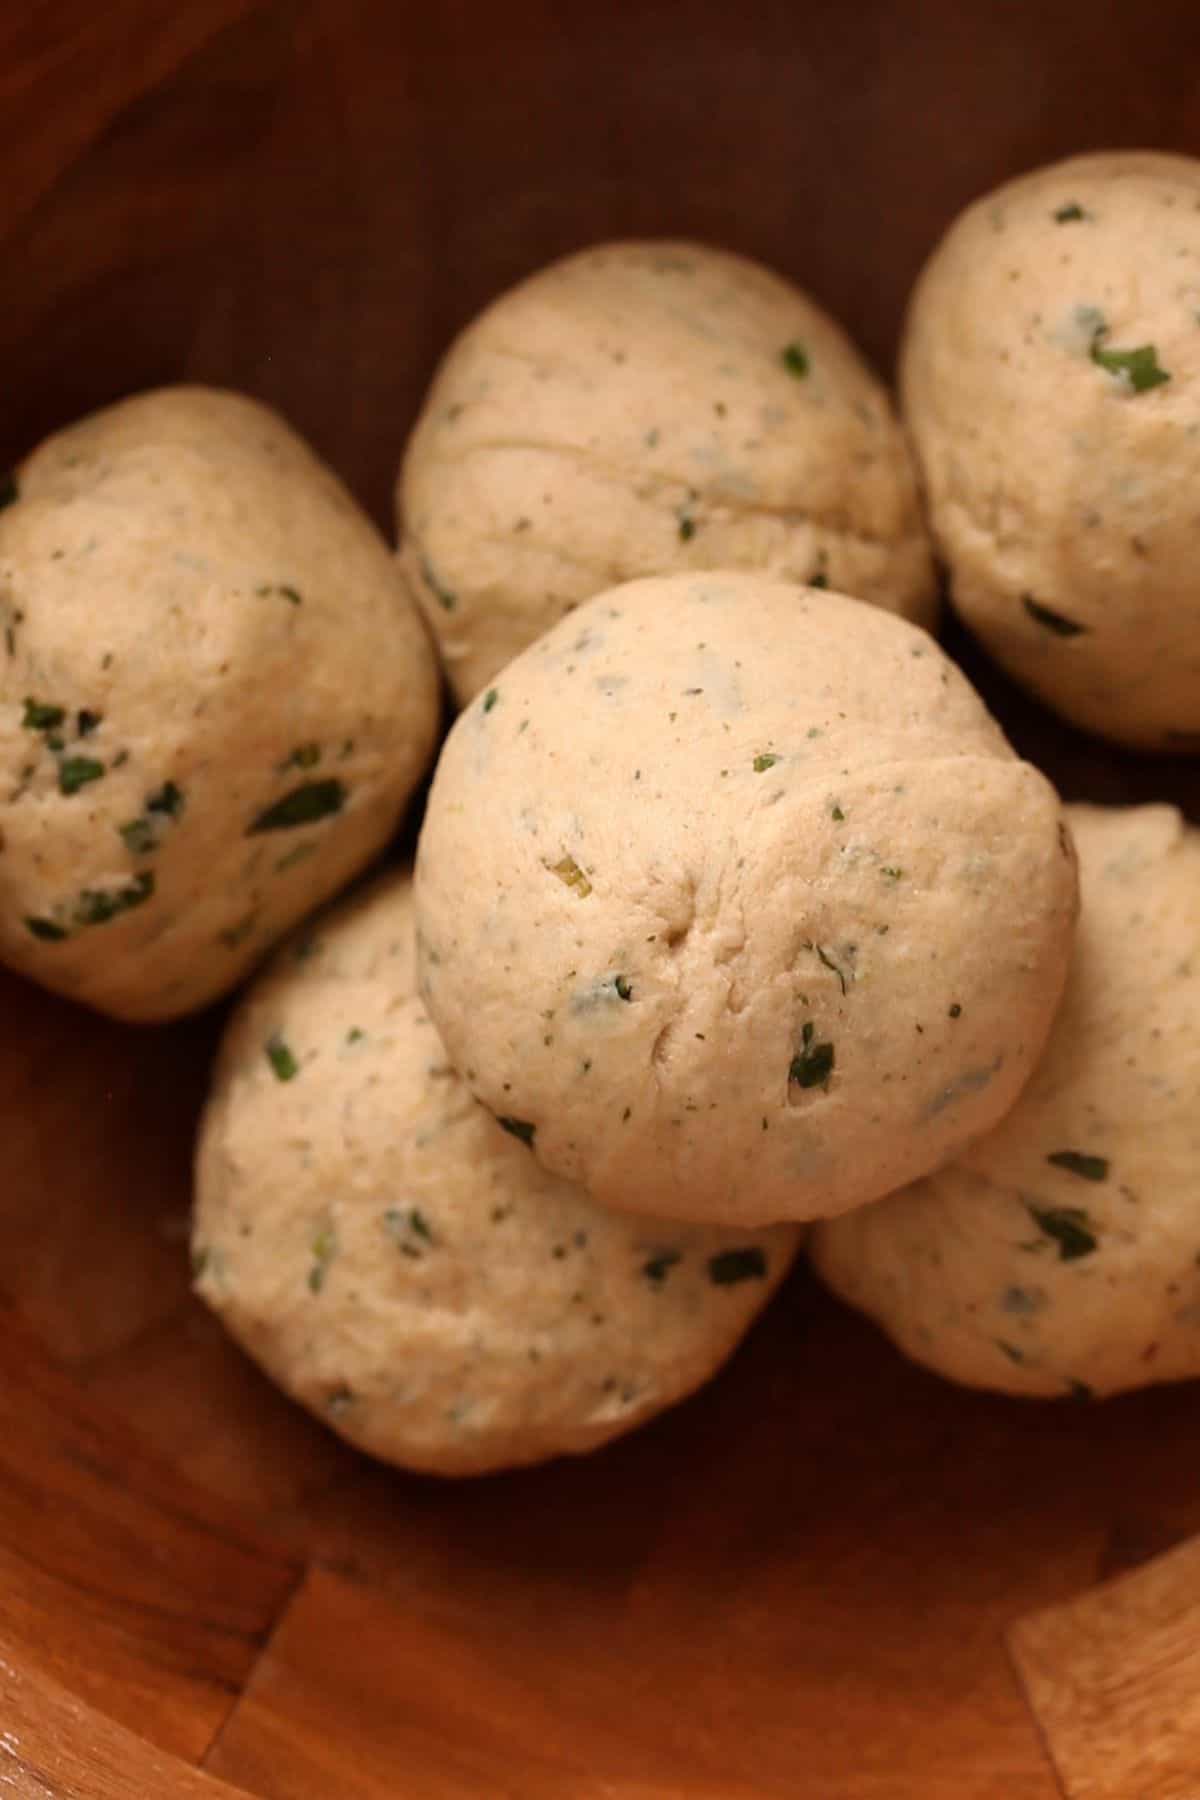
- Divide the dough into equal portions and roll each portion between palms into medium balls.
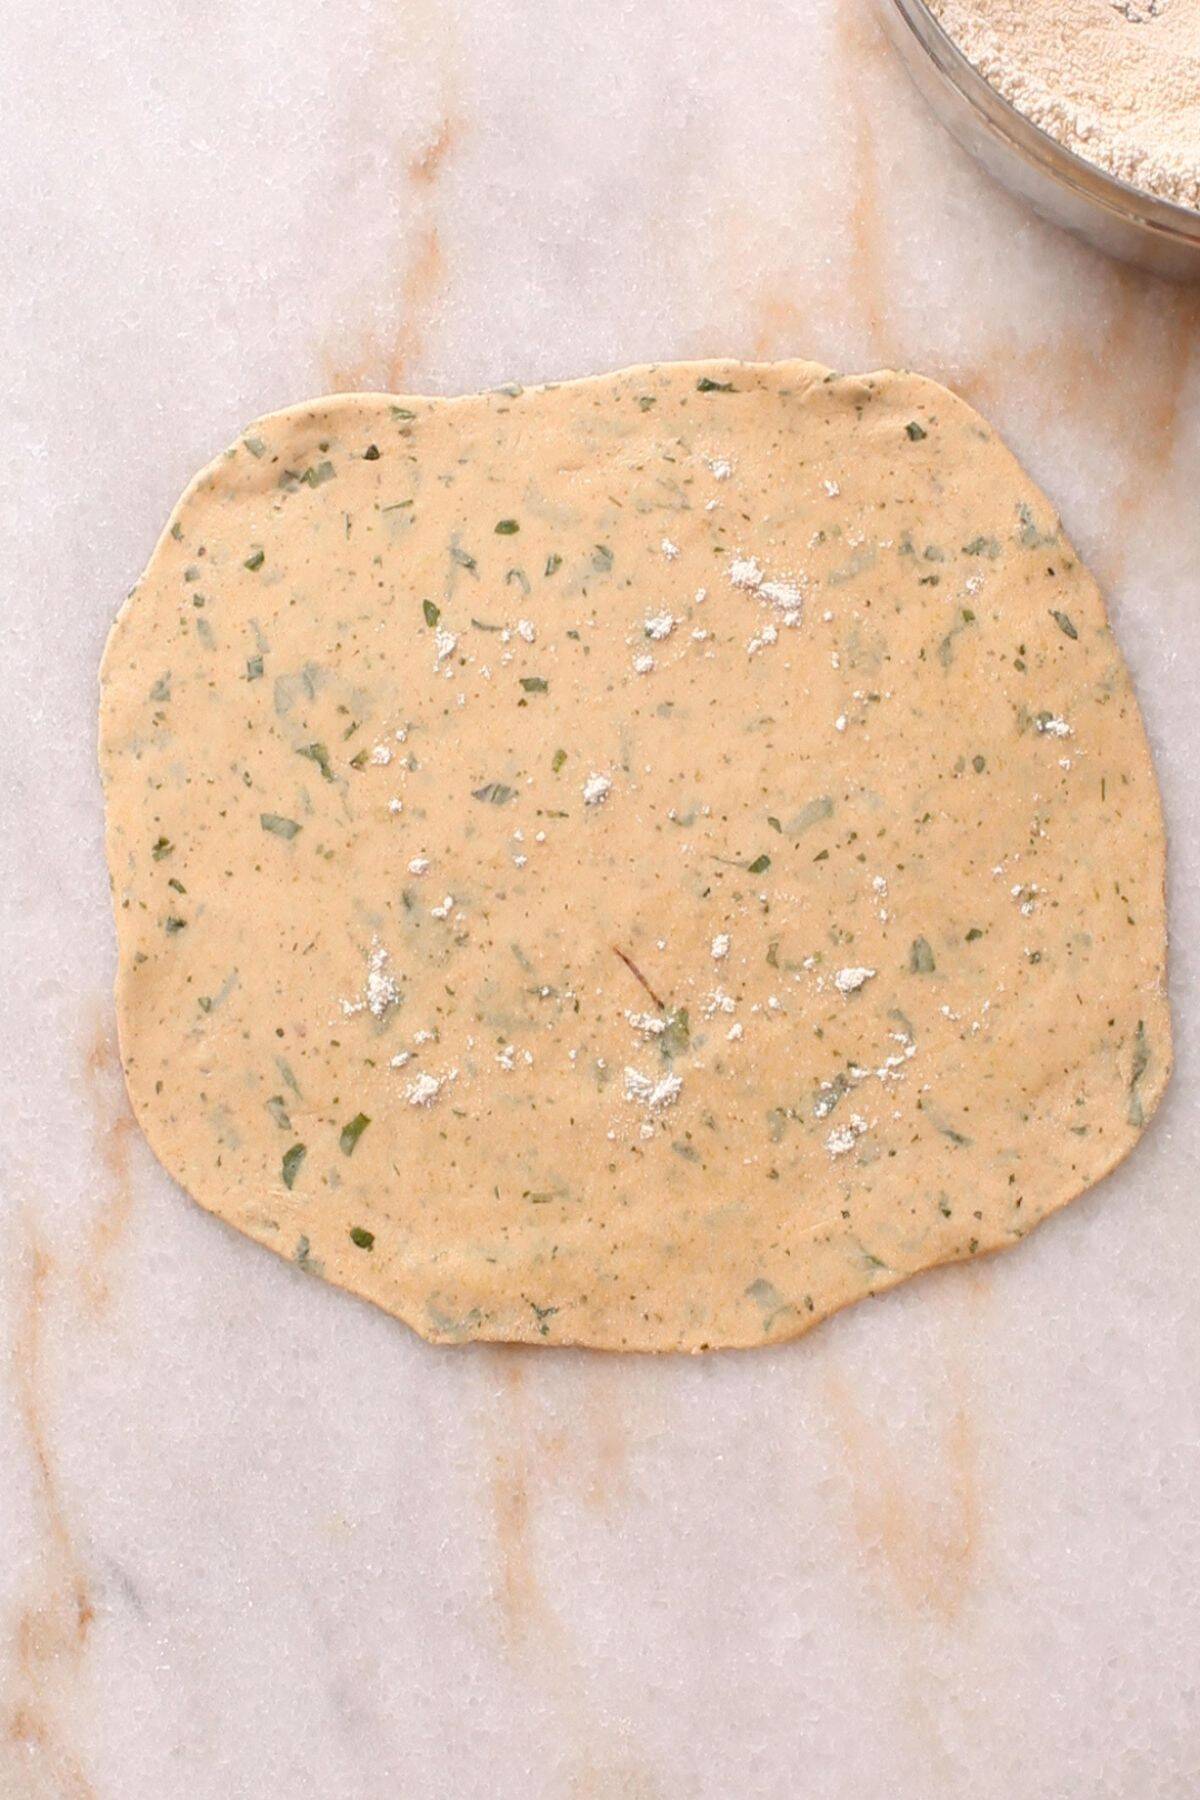
- Lightly dust each dough ball with dry flour and roll into a thin 10-inch circle.
- Brush the surface of rolled dough with oil or ghee (add more chaat masala if desired).
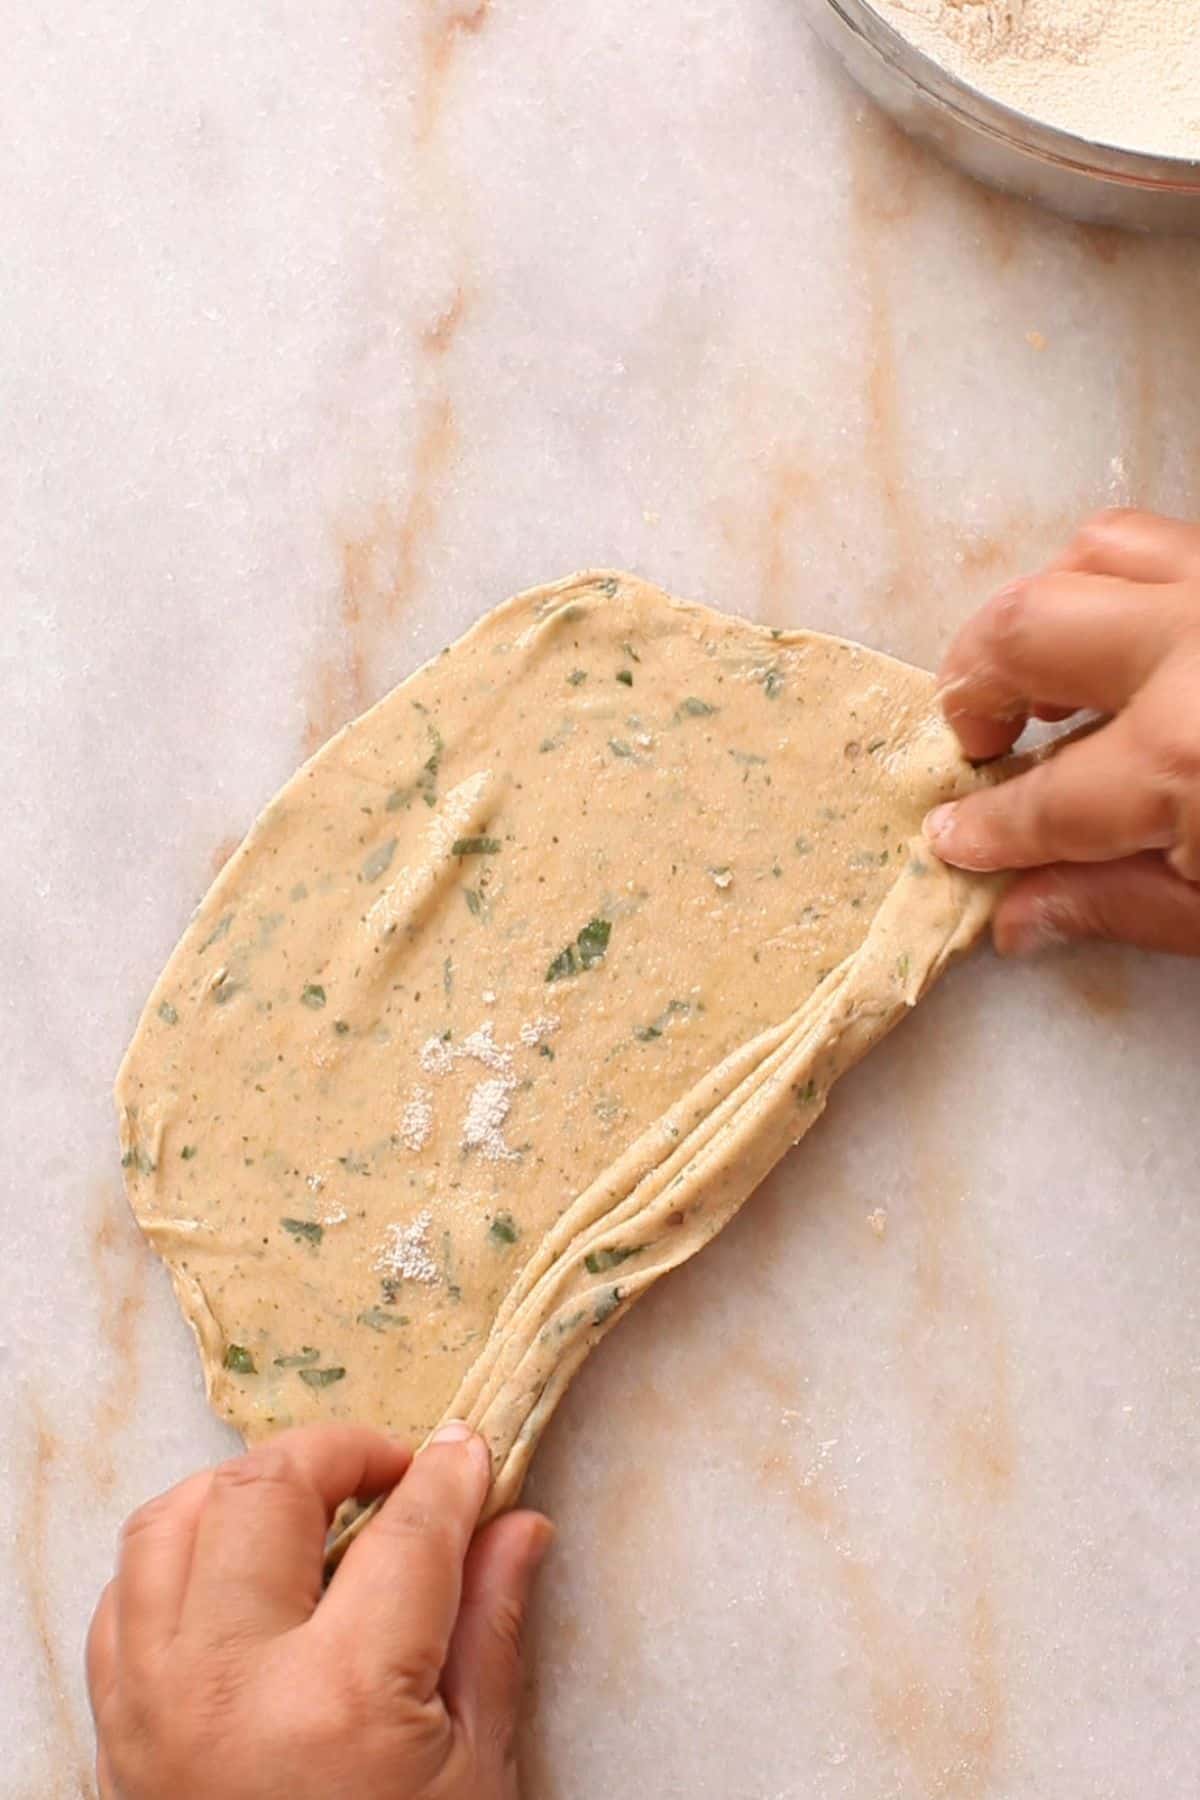
- Stretch and fold the dough from pleats similar to that of a hand fan (layers one on top of other).
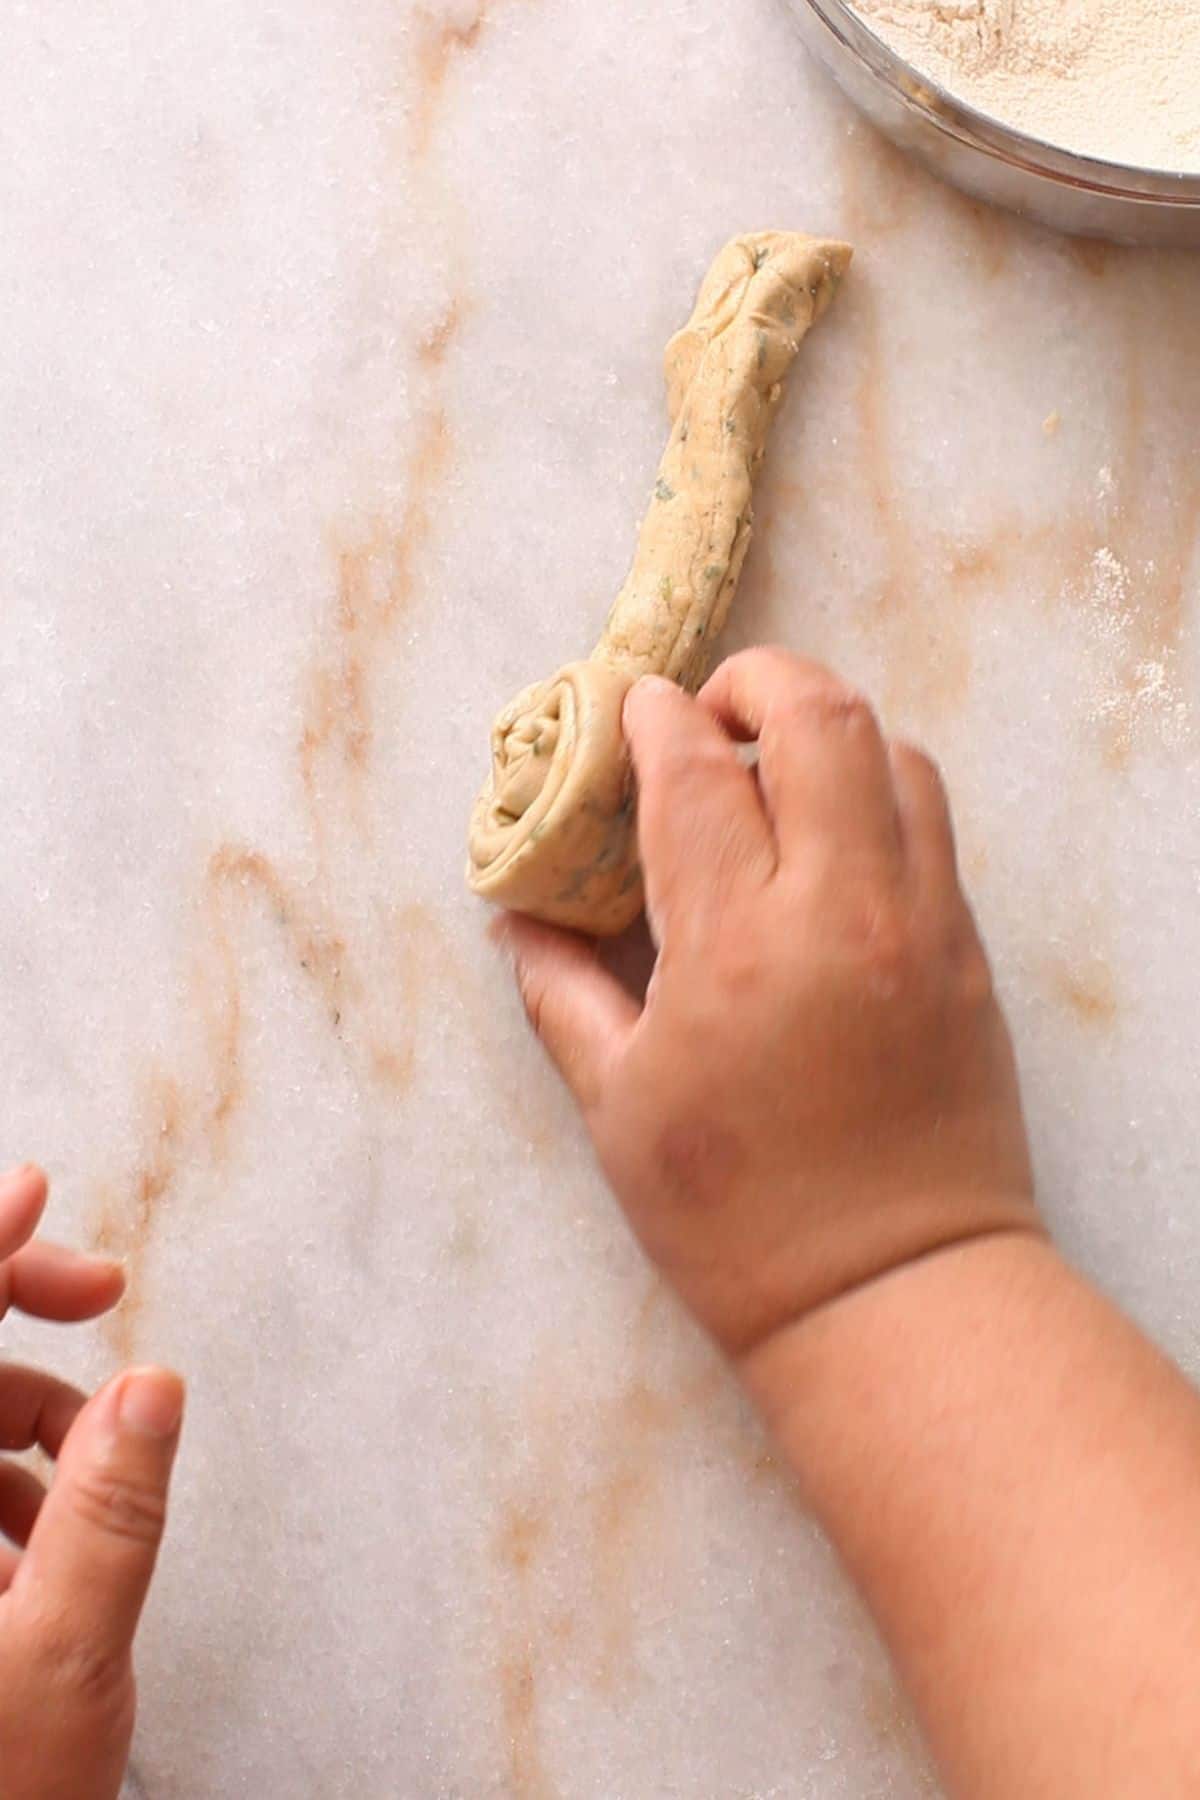
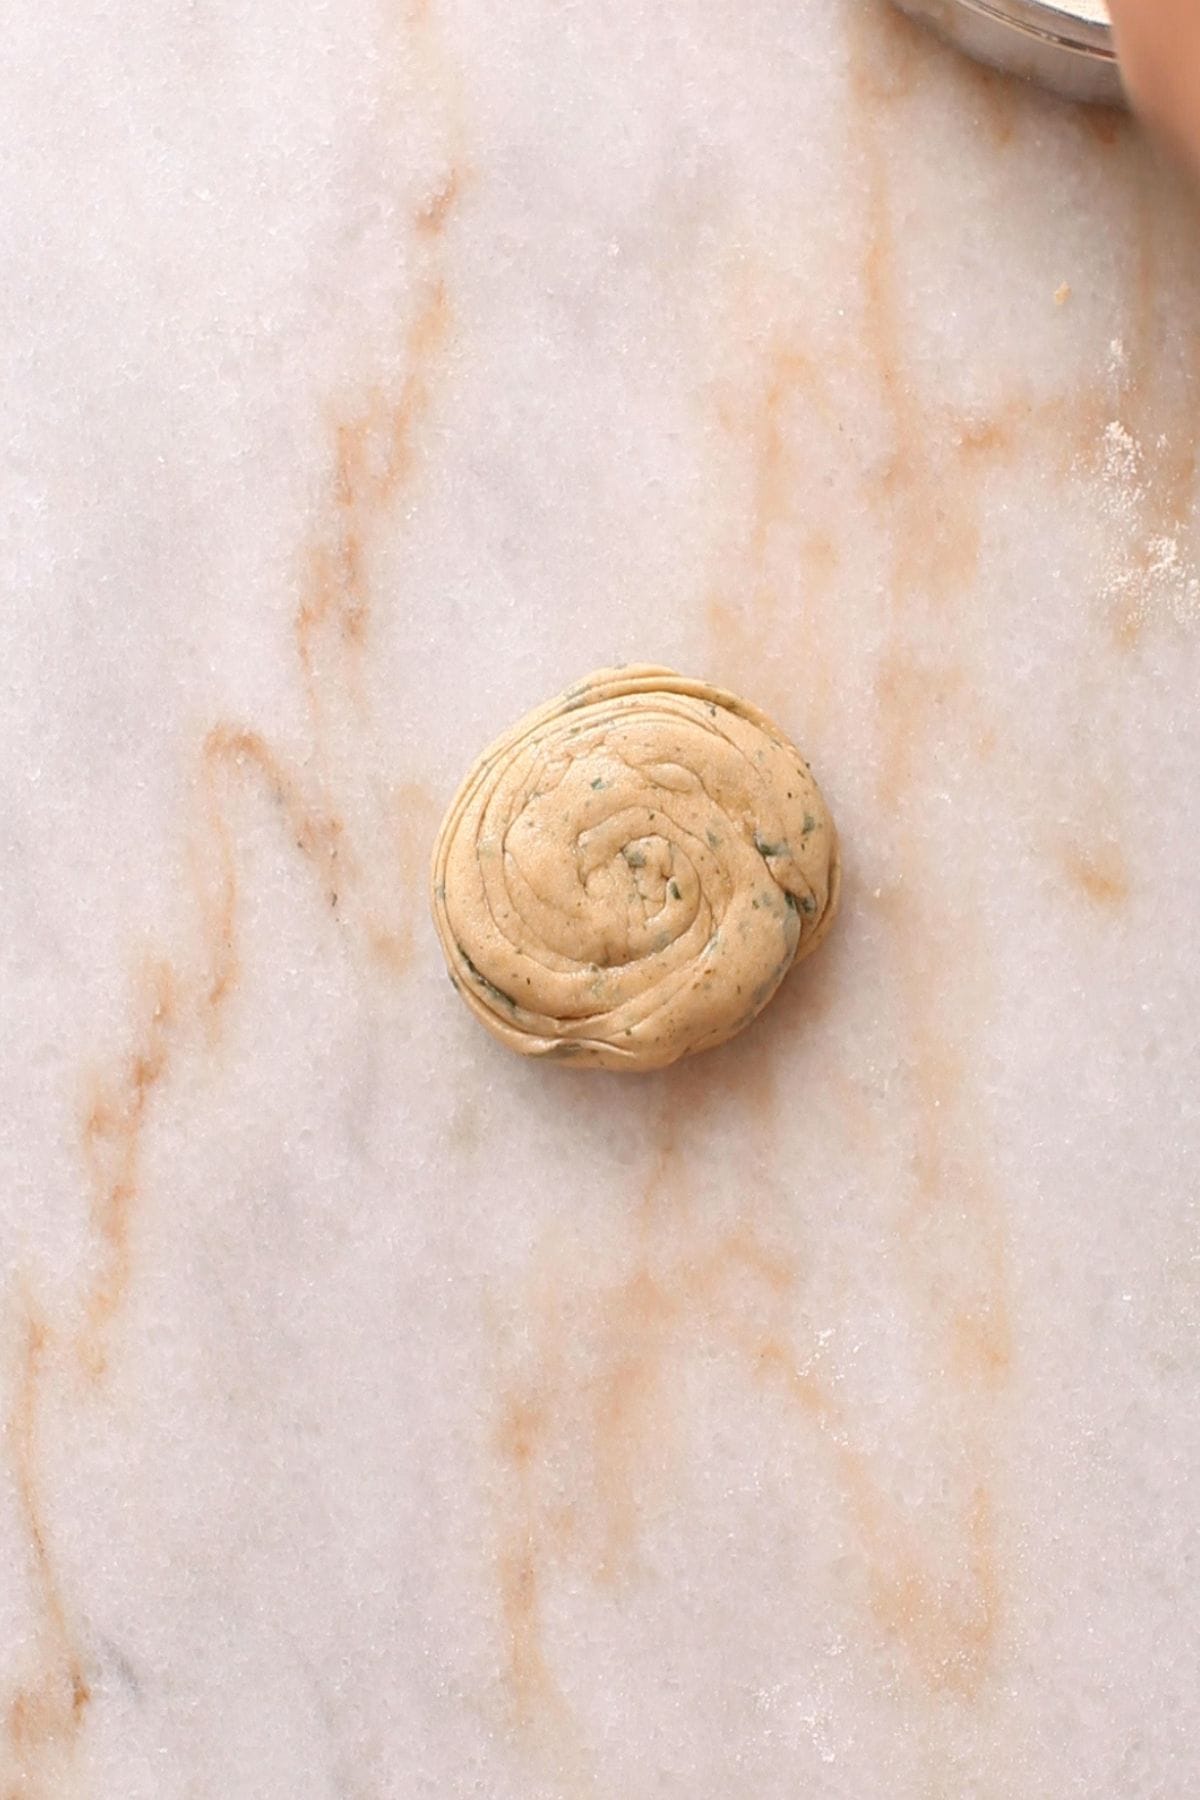
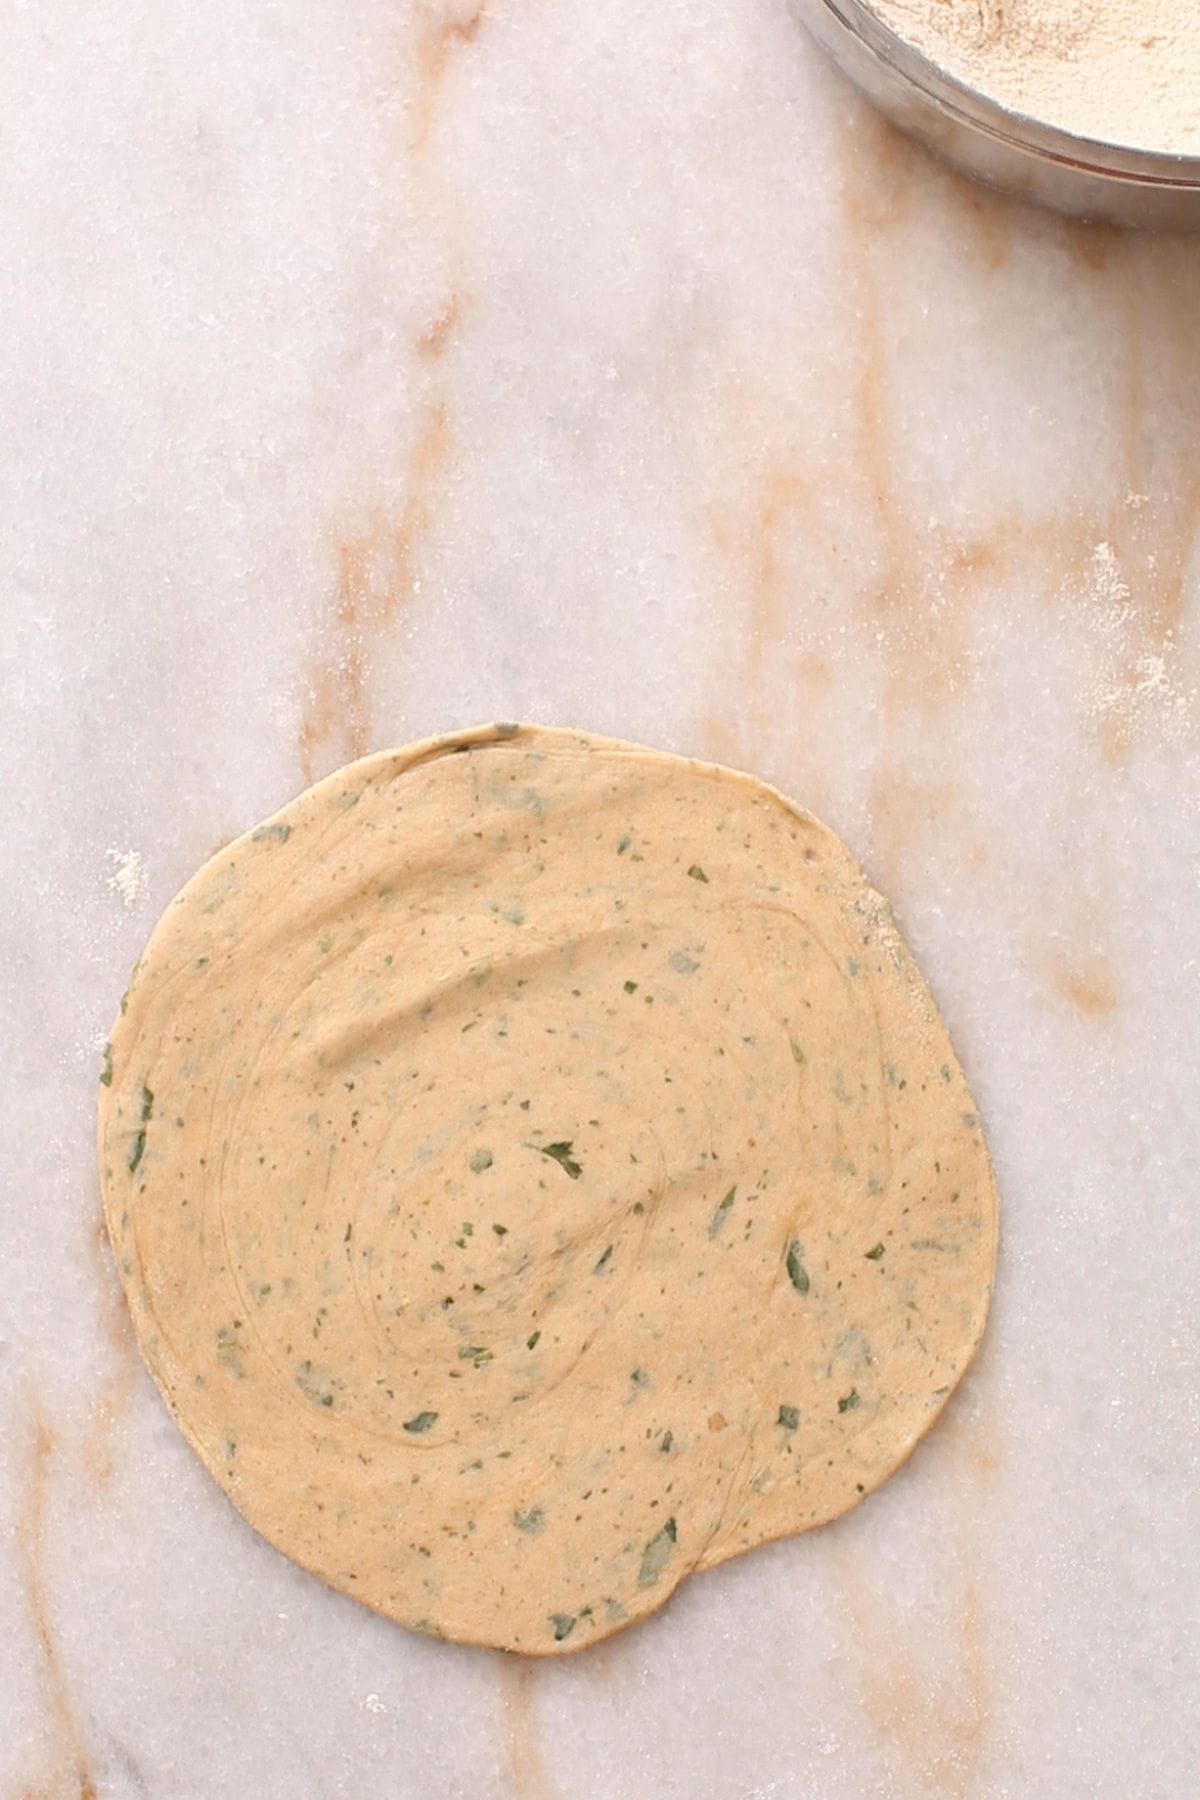
- Then roll it into a spiral and press lightly. Again, dust with flour and roll into a 6-inch paratha (keep it slightly thick).
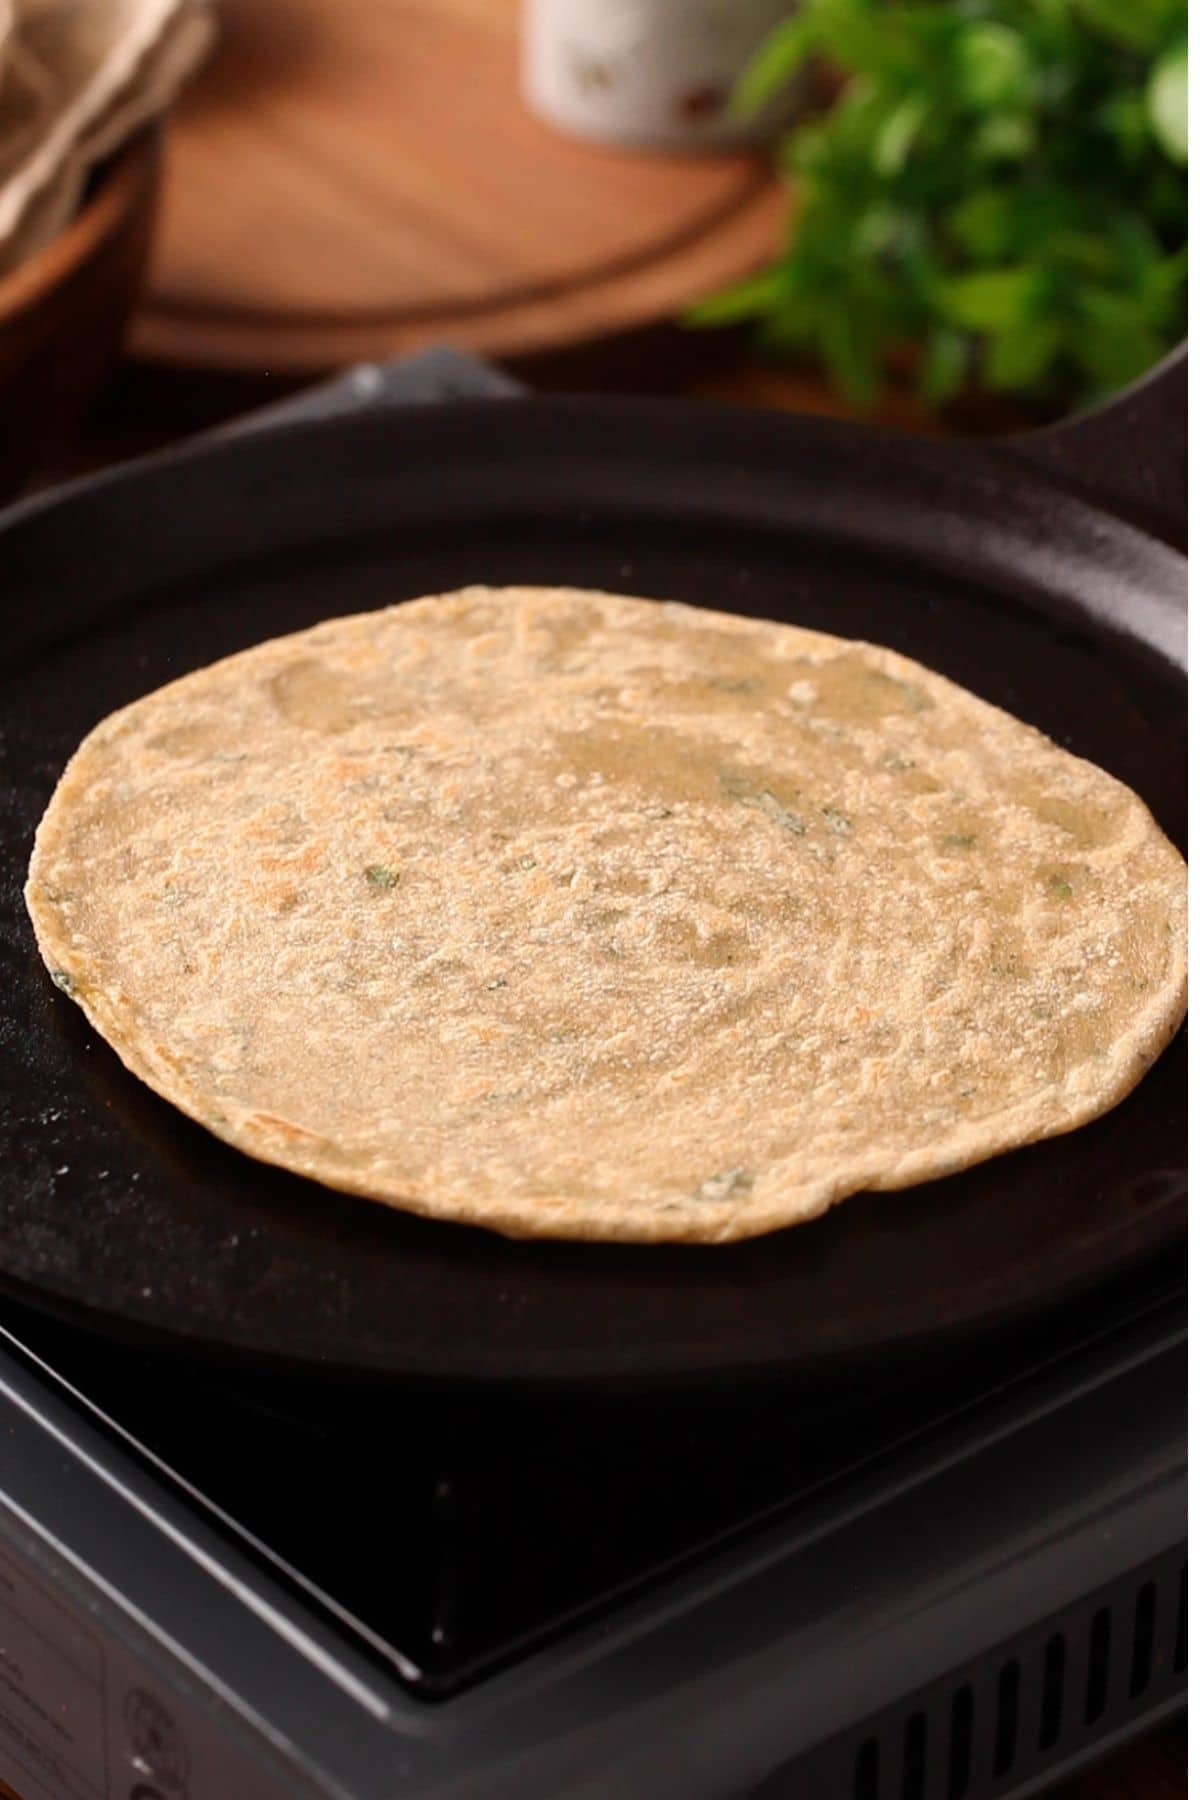
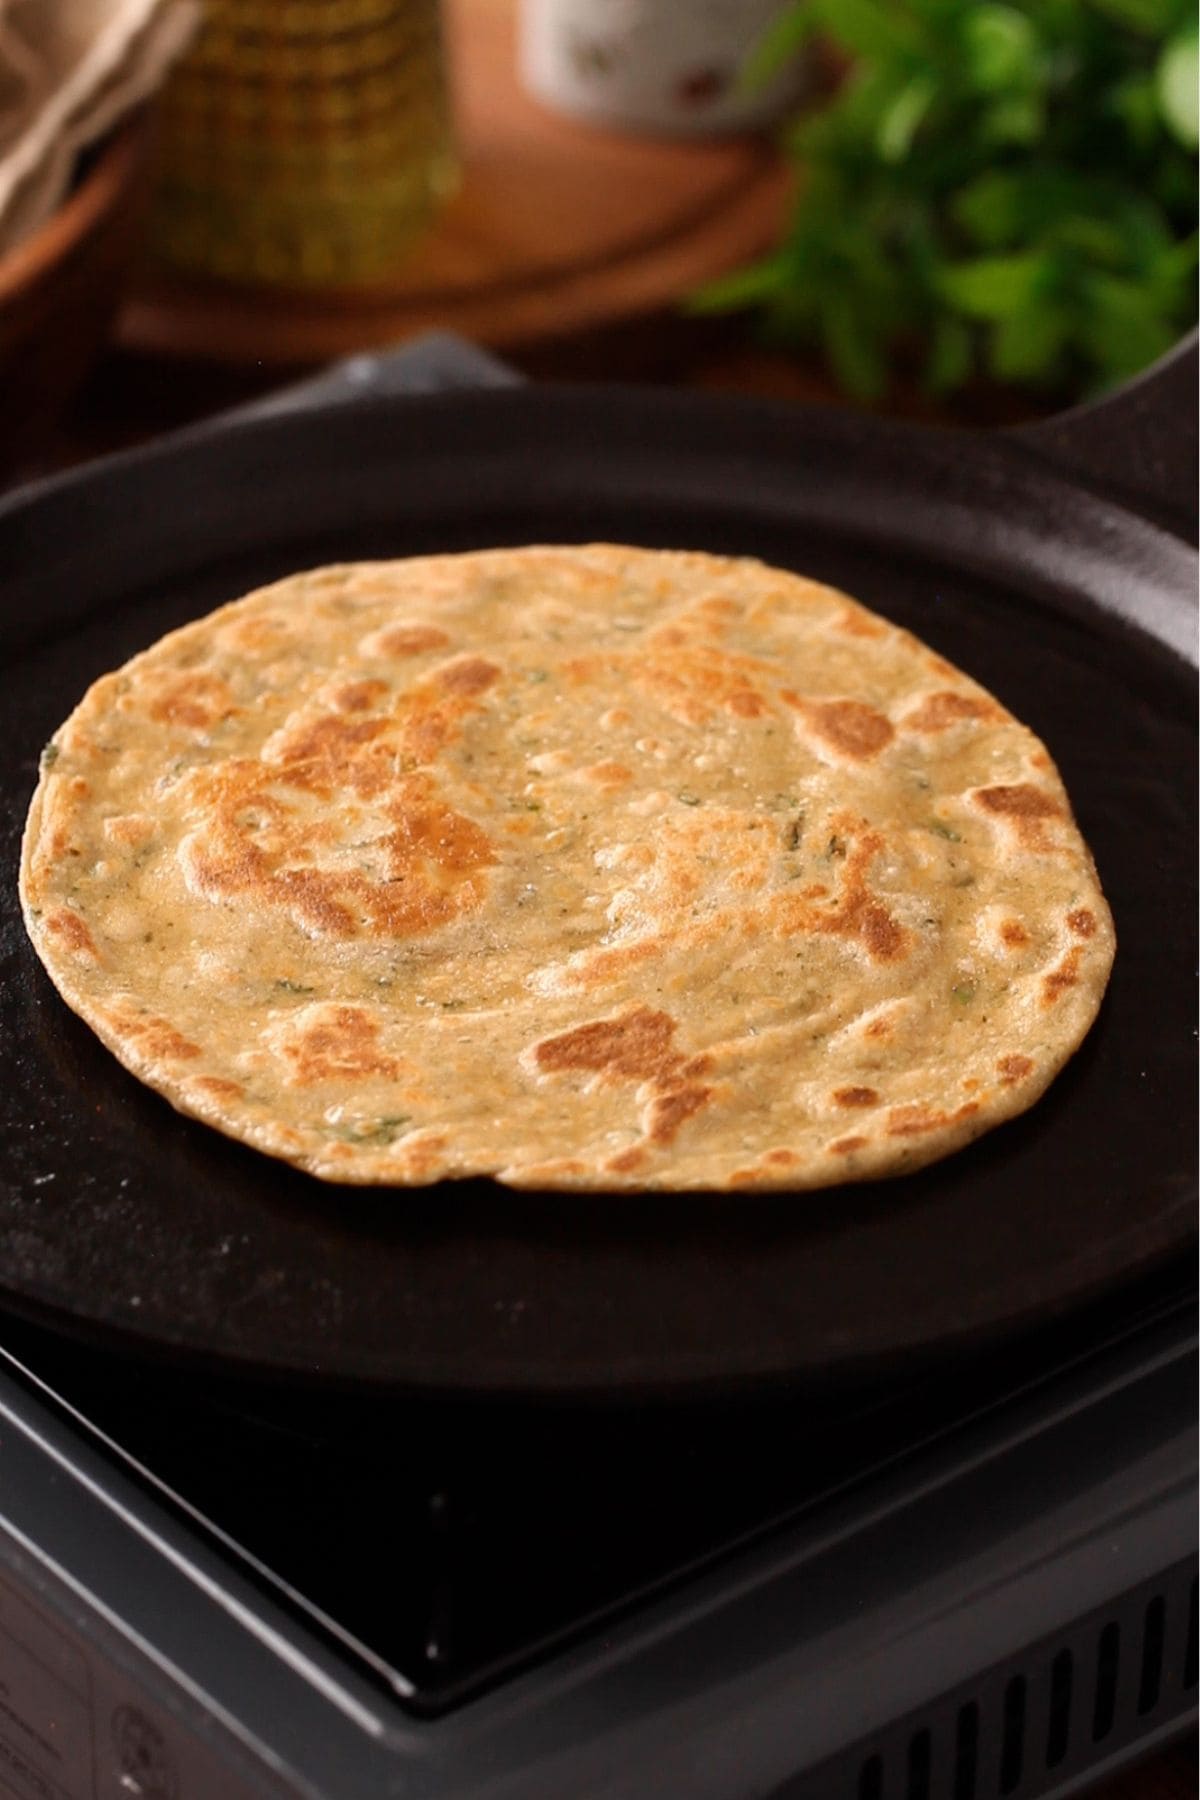
- Heat a iron griddle or skillet on medium-high. Cook the paratha, flipping when it puffs. Spread oil on both sides while toasting until golden. Adjust crispness to your liking.
- Lightly crush before serving for flakier layers (optional). These keep well in the fridge for 1-2 days. Reheat on a hot tawa before serving.
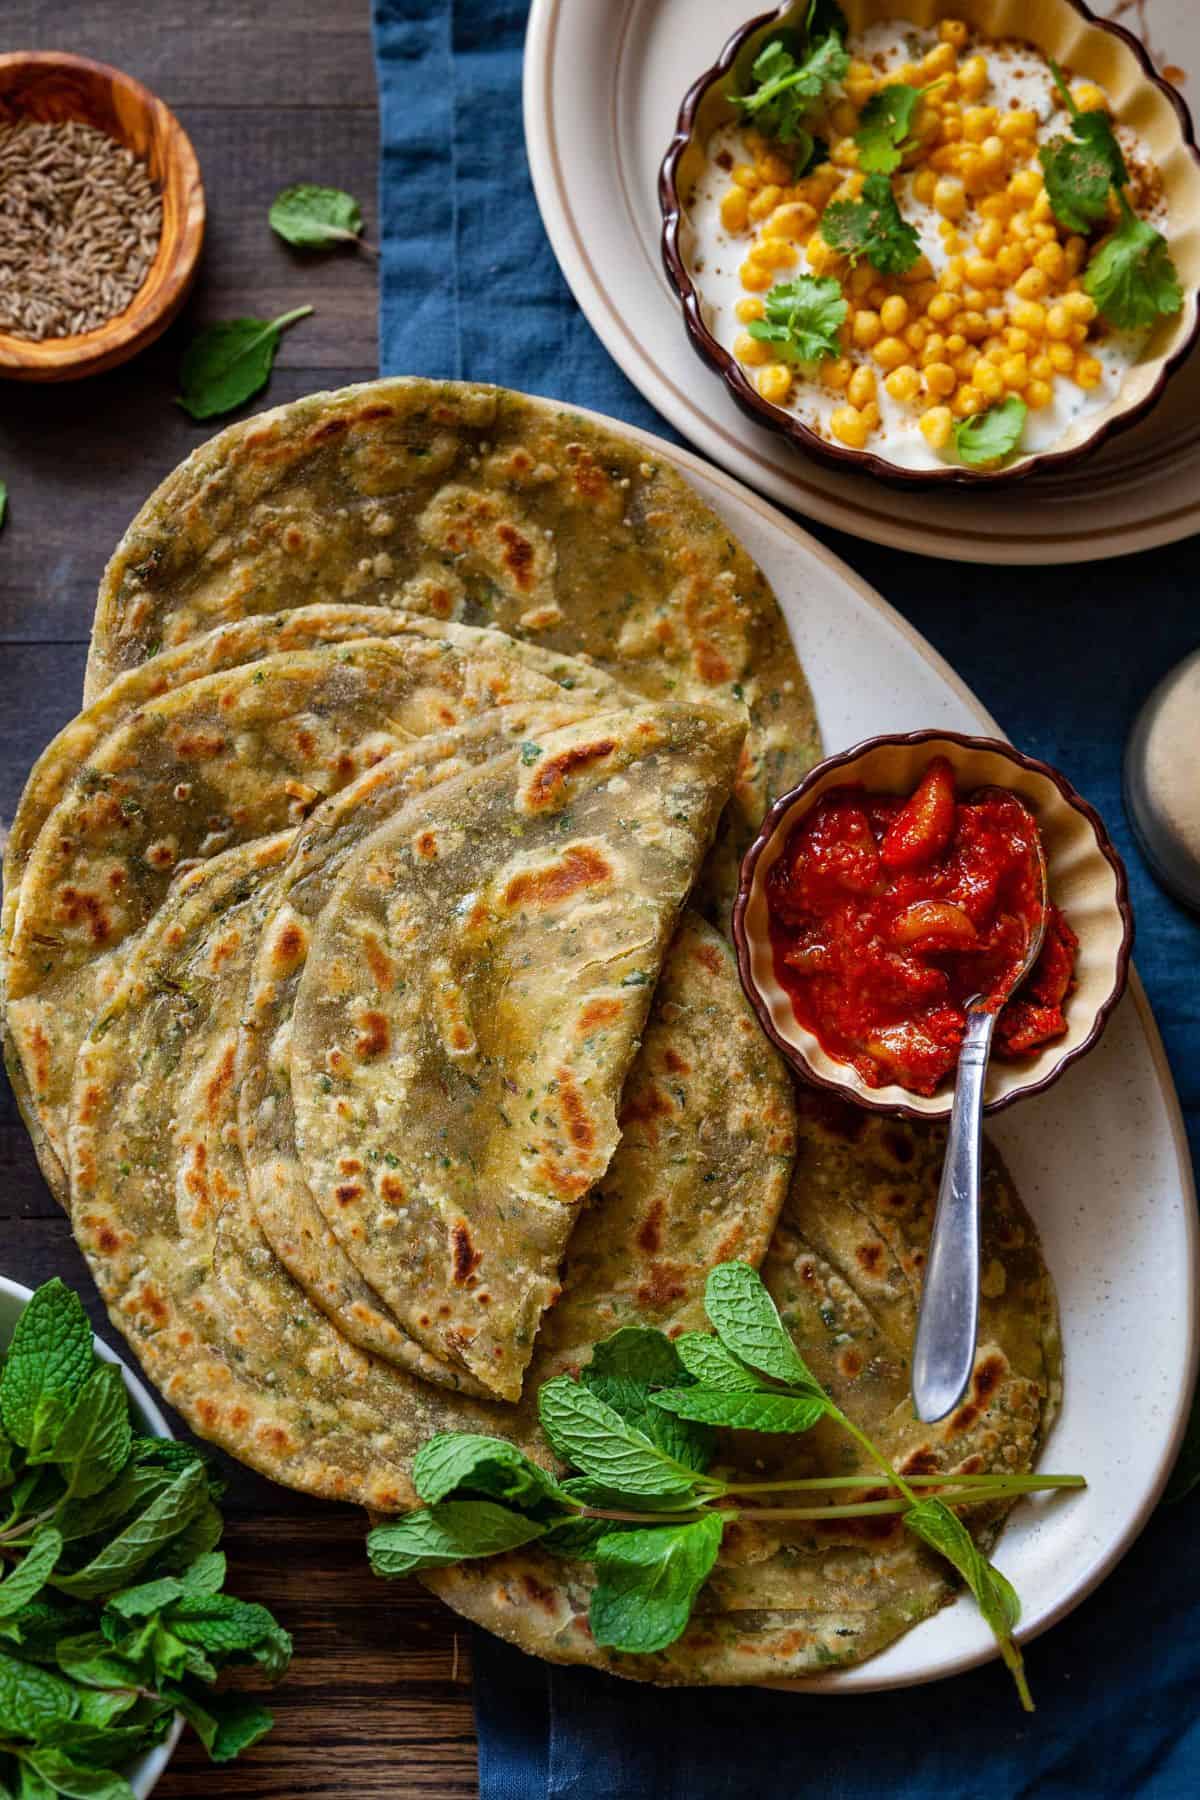
Pudina Paratha (Layered Mint Flatbread)
Ingredients
- ½ cup heaped (20 gms) tightly packet fresh mint leaves , finely chopped, use just the leaves
- 2 cup (240g) whole wheat flour (atta)
- 2 tablespoon besan (chickpea flour)
- 1.5 tablespoon oil
- ½ teaspoon cumin powder
- 1 tablespoon ginger green chilli paste finely mince or pound together 2 green chillies and ½ inch fresh ginger in mortar pestle
- ½ teaspoon dried mint
- 1 teaspoon chaat masala
- ½ to 1 teaspoon salt adjust to taste
- ⅔ to 1 cup water or as needed for a soft dough
- 4 tablespoon Oil or ghee (for rolling the laccha paratha) (for rolling the laccha paratha)
- Dry flour as needed while rolling
- oil or ghee as needed for cooking the paratha
Instructions
Make the Pudina Paratha Dough
- Wash the fresh mint leaves. Shake off excess water. Finely chop them using a knife. Avoid using a chopper because the green color bleeds sometimes and can make your dough green.
- In a large mixing bowl, add the wheat flour, besan, spices, salt, dried mint, chopped mint, and oil. Mix the flour very well to combine everything very well.
- Now start adding water in parts. Initially you can add ½ cup water. Thereafter, the amount of water required depends upon the absorption quality of the flour. We need a soft dough which can be rolled easily and then streched and pleated to make layers. But the dough should become sticky.
- Add water as needed and knead for 3-5 minutes to make a smooth. It should not be very loose or sticky. I used about ¾ cup water. You may need more or less depending upon absorption quality of flour.
- Cover the dough with a cloth or kitchen towel and let rest for 15-20 minutes.
Shape & Cook Pudina Parathas
- Divide the rested dough into equal portions and using your palms make them into 8 balls. You can make 6 if you want thicker parathas. Or 10 if you want smaller parathas.
- Place a dough ball on a rolling surface and sprinkle some dry flour on both sides.
- Roll the dough into a large thin circle of about 10 inch diameter or as thin as you can. Don't worry about the shape right now, it should be thin. Use dry flour as needed.
- Brush oil on the top surface (you can sprinkle 1 teaspoon dry flour and (optionally)a little more chaat massala), and begin to fold from edges like a hand fan, making thin pleates on top of each other. Please see images in the blog post to get an idea.
- Once there is a thick pleated long roll of the dough, fold it inwards like a spiral into a round spiral dough ball. Press down lightly, sprinkle dry flour.
- Meanwhile, set a tawa to heat up on medium high stove. Roll the dough ball to a paratha of 6-7 inches. Keep them on a thicker side.
- Place the paratha on the hot tawa. Keep the flame to medium high. Don't cook on low flame as they will become hard.
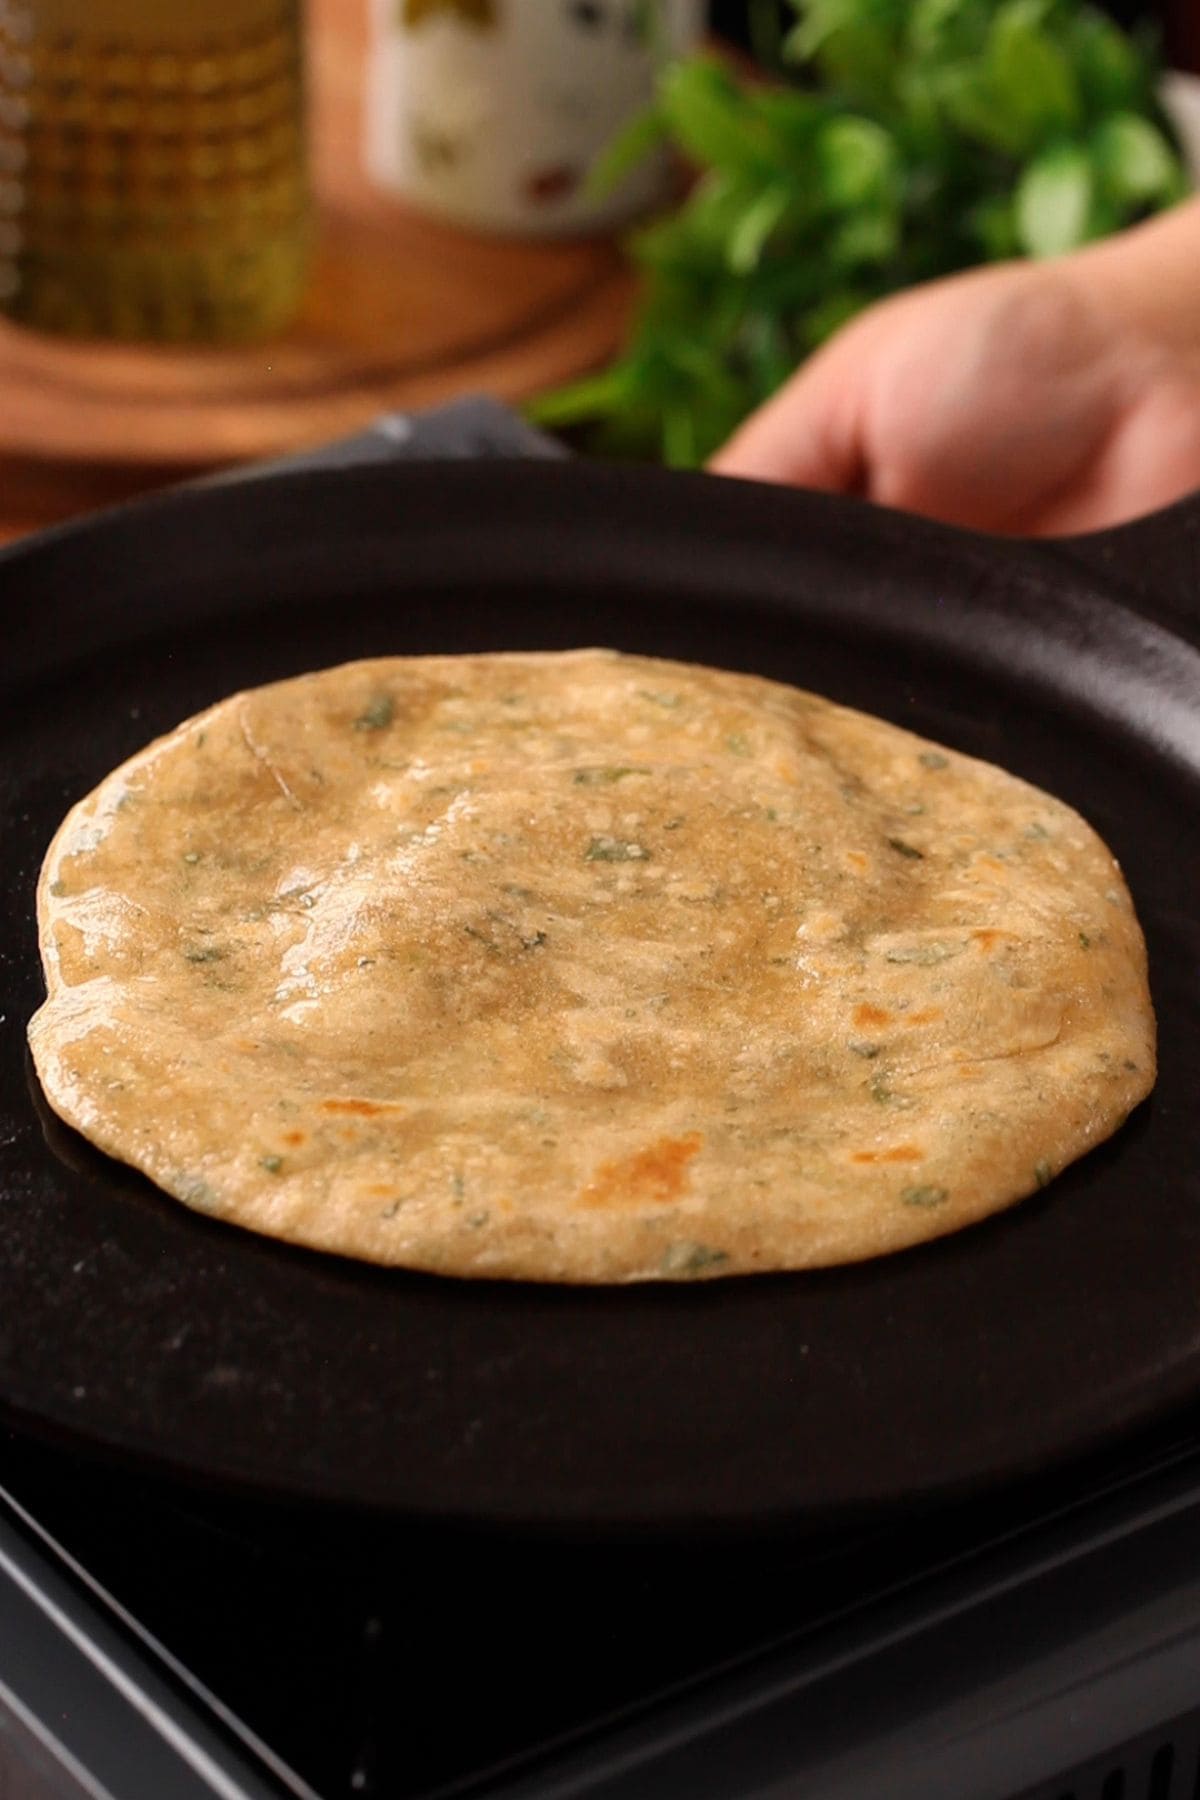
- When you see the top side of paratha puffing here and there and looking a bit coked. Using a flat spatula or tongs, flip it. Liberally spread oil on the cooked side.
- Flip and spread the oil on the second side. After you apply oil, toast nicely on both sides, you can fip as needed for nce roasting. Don't press too much, just press 1-2 times to make sure edges are cooked through. You can make them crispy or keep them soft.
- Remove the parathas on a wire rack (to avoid steaming the bottoms).
- When good to handle, crush them a little before serving, so that the layers separate a bit but this step is optional.
- Serve warm for best taste and texture. But they taste fine at room temperature. These keep for 1-2 days well in the fridge as well. Just warm them slightly on a suoer hot tawa before serving.
Notes
- Do not skimp or skip the spices. Else they taste flat. The combination of mint with cumin and chaat masala make each bite flavorful.
- Use oil or ghee with heart, especially if you are making them laccha paratha style. Else the laccha quality wont come through because the layers will be stuck to each other.
I'd Love to Hear from You!