

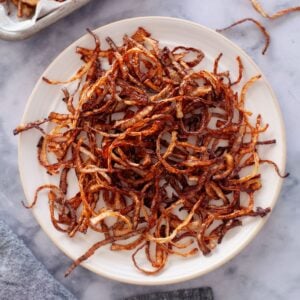
Learn how to make crispy, golden-brown deep-fried onions at home using just 2 ingredients. Perfect for adding a flavorful crunch to indian dishes such as biryani, pulao and korma. They are also perfect for topping soups and salads. You need only onions & oil for making this recipe. Gluten-free and last for months in the freezer! I am also including instructions for air fried version.
Call it plain laziness, but for many years I opted for store-bought fried onions because of the convenience. While it was easy, I knew deep down that homemade fried onions are far superior in texture, taste, and quality.
Ever since I started making my own, there has been no looking back! The best thing is that these golden fried onions last for weeks stashed in the freezer. You could add a handful to a bowl of dal, definitely makes cooking korma dishes a breeze and if you make biryani often, this eliminates the ritual of frying onions before everything else.
Also know as birista, these are a staple ingredient in Indian cuisine. Afrer frying, the onions attain a rich, caramelized flavor and add a crunchy texture to dishes. You could use either yellow onions or red onions. The problem with latter is that they sometimes appear green especially after air frying.
Why Make Your Own
- When you fry onions yourself, you have full control over the cooking process, allowing you to achieve the perfect crispness and a golden-brown color tailored to your taste preferences.
- Oil Quality -One major issue with store-bought fried onions is the use of potentially rancid or poor-quality oil, which can impart an unpleasant odor and off-flavor to the onions. At home, you can choose high-quality, fresh oil or ghee, ensuring a clean, aromatic result that enhances the overall taste of your dishes. I use avocado oil for frying, however vegetable or canola oil works fine too. Use any neutral oil for deep frying. If frying a single use batch, ghee or clarified butter is also great to use.
- Lastly, homemade fried onions not only have better flavor but also your birista is free from any unwanted additives or preservatives.
How To Cut Onions for Making Birista
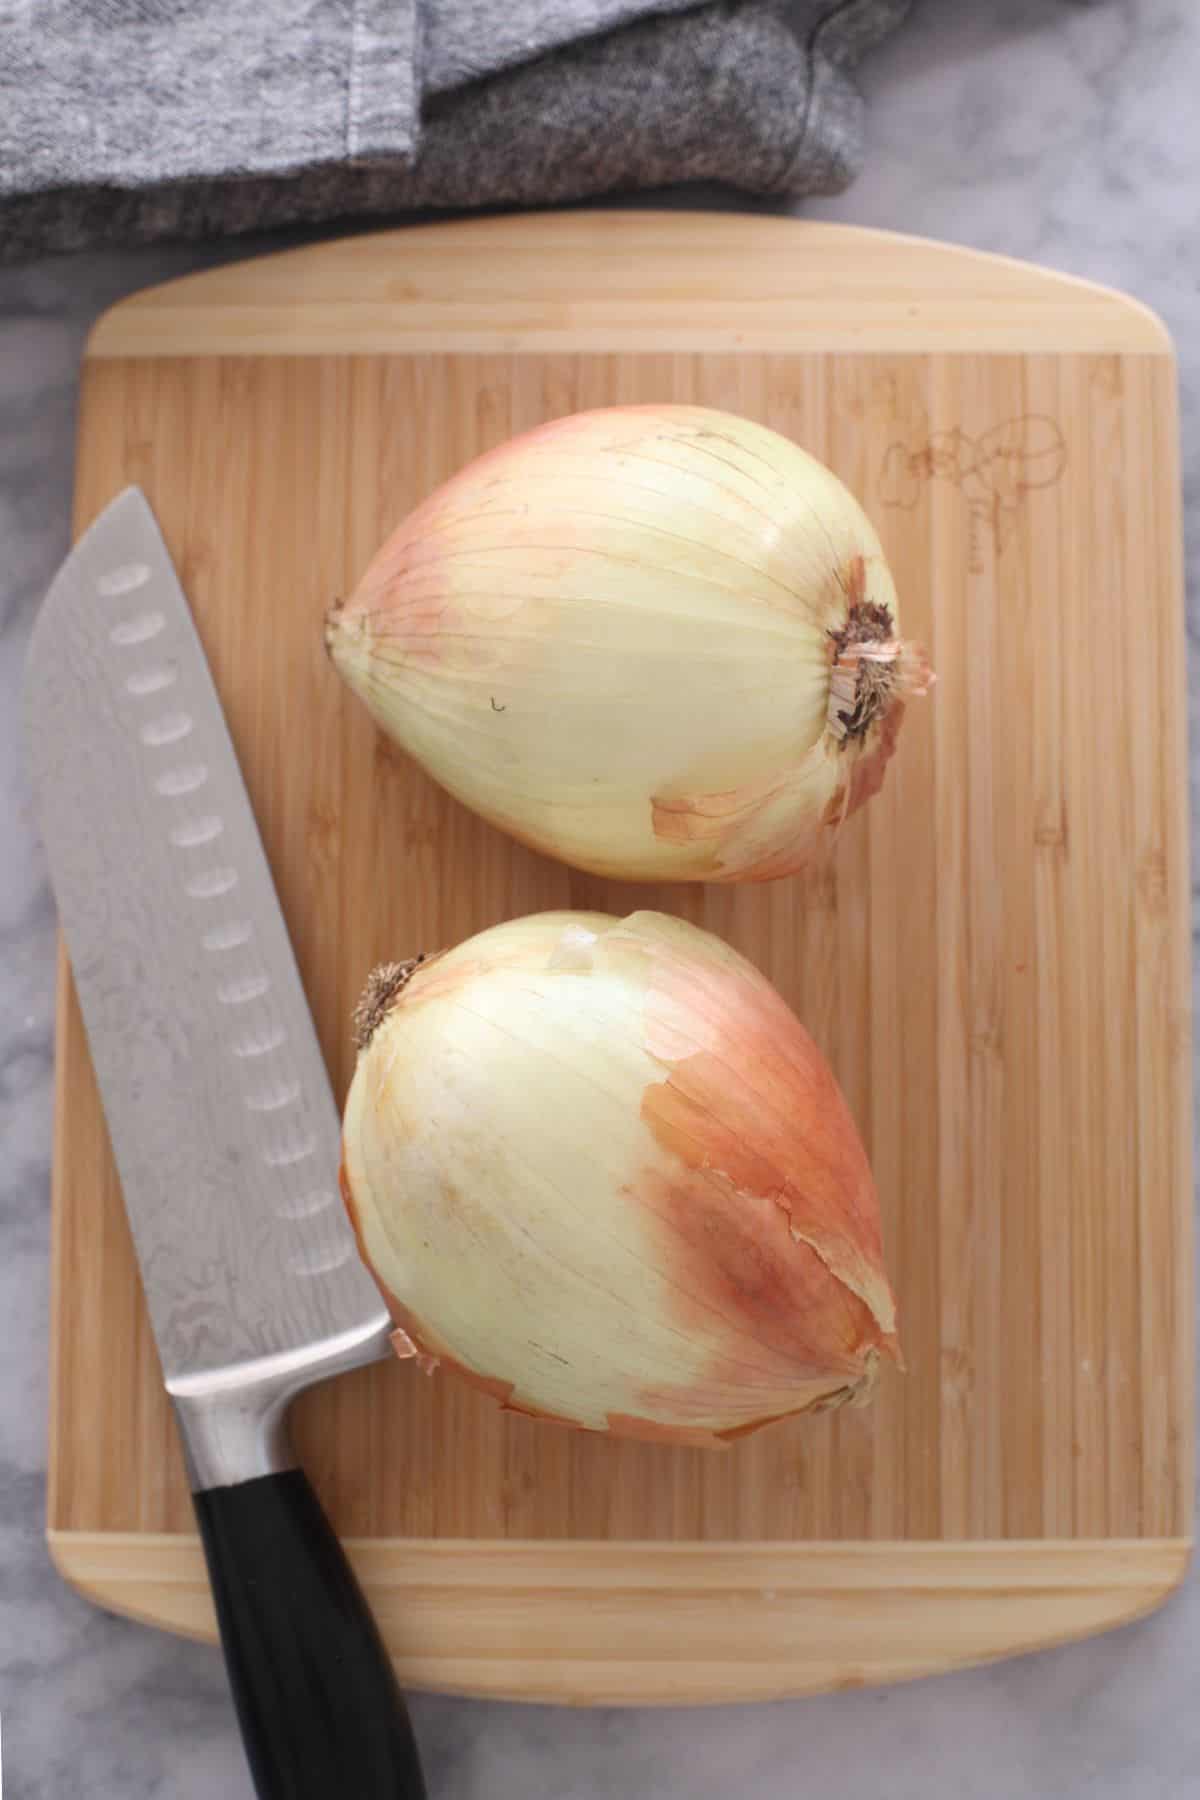
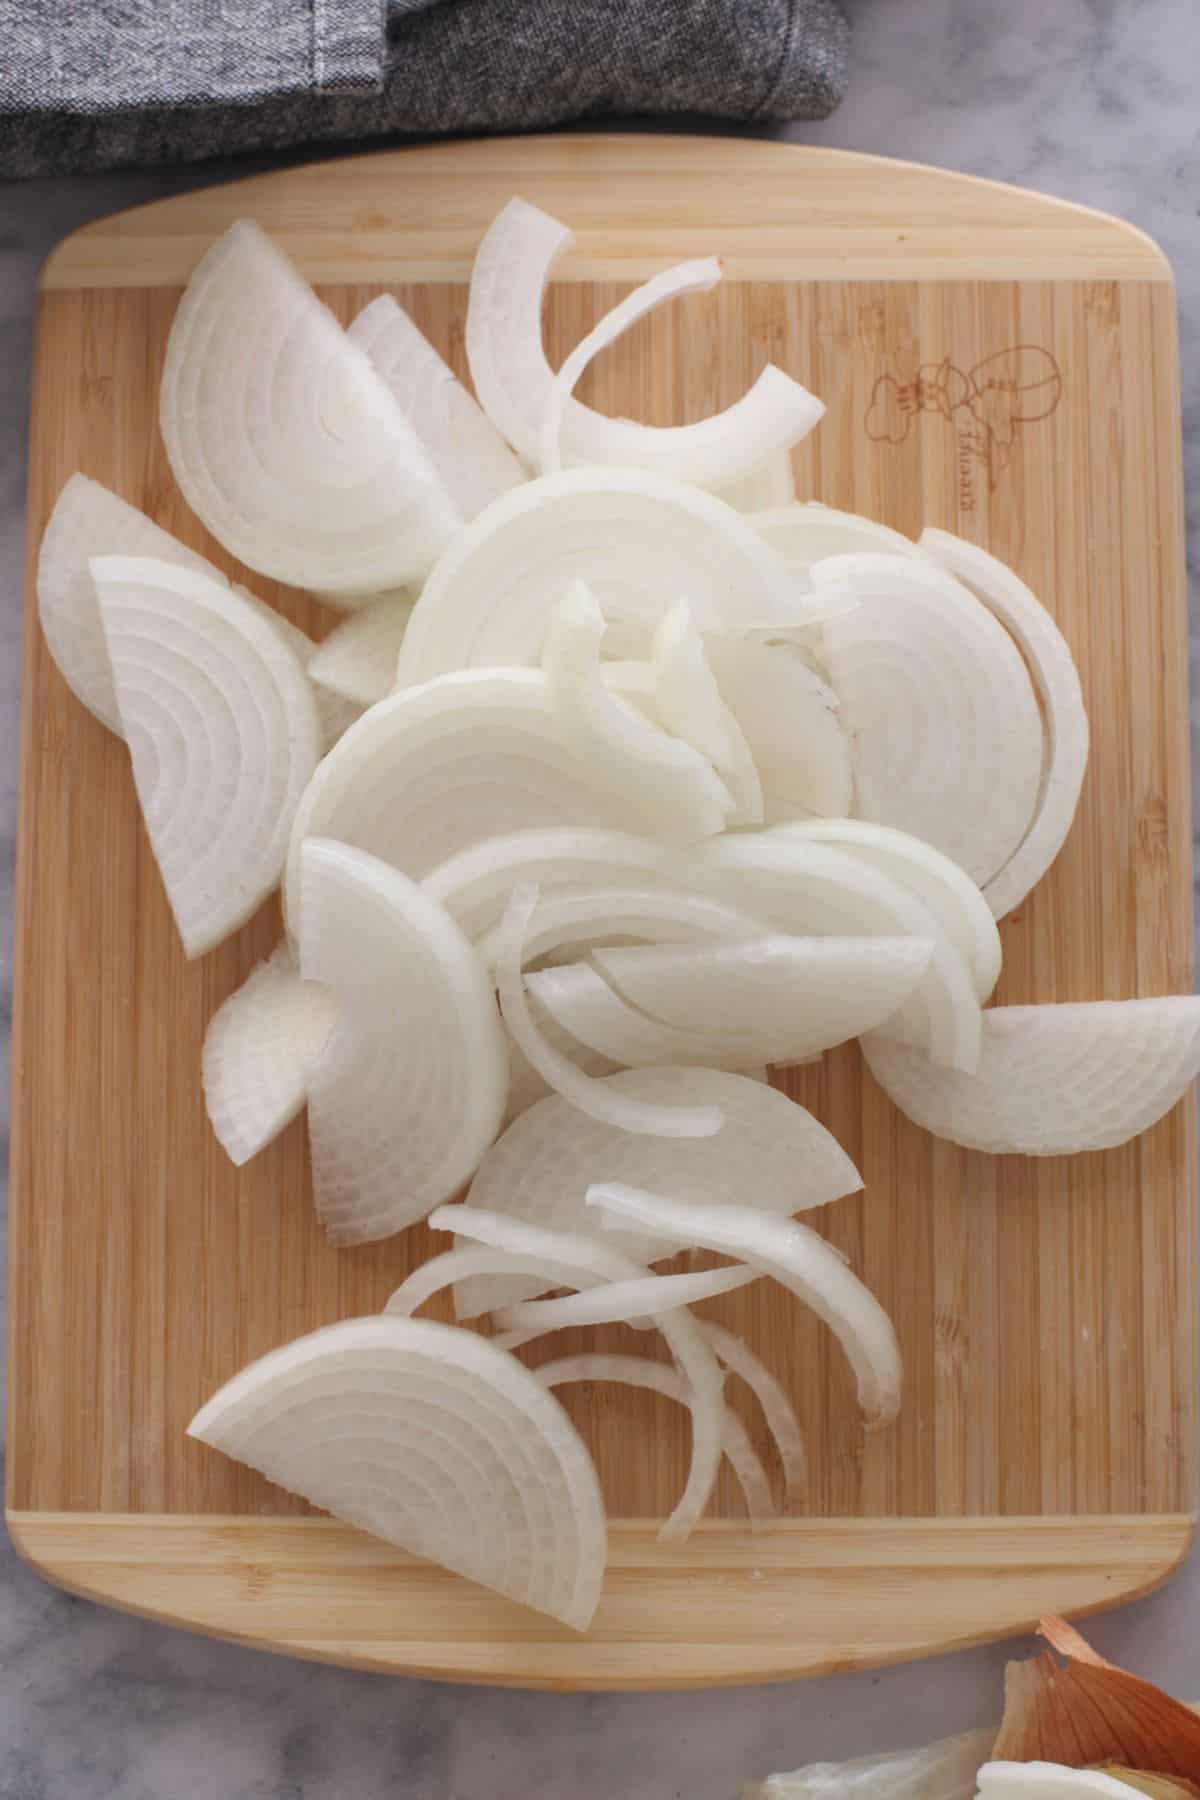
- Start by peeling the onions and trimming off the root ends.
- It is best to cut onion into half lengthwise from stem side to root side. Rest one half on the chopping board, flat side down.
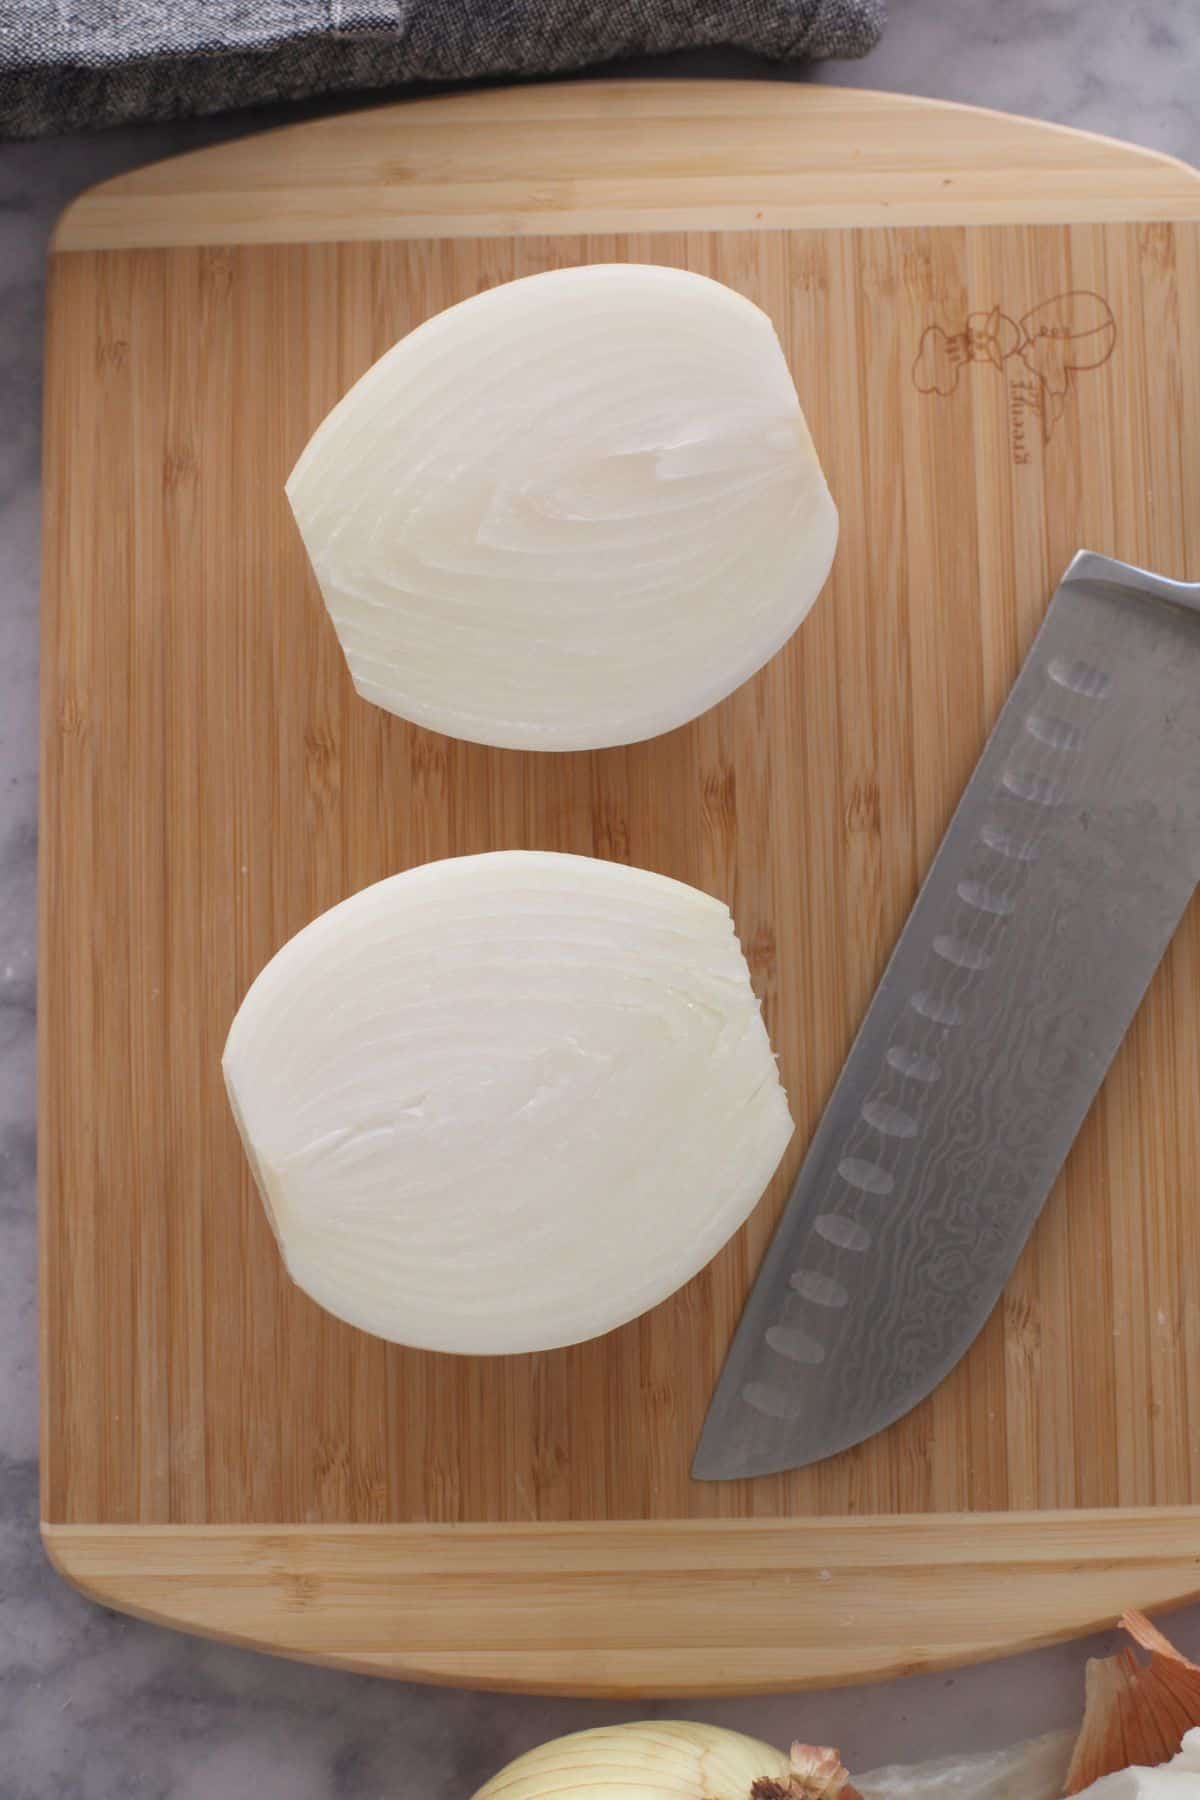
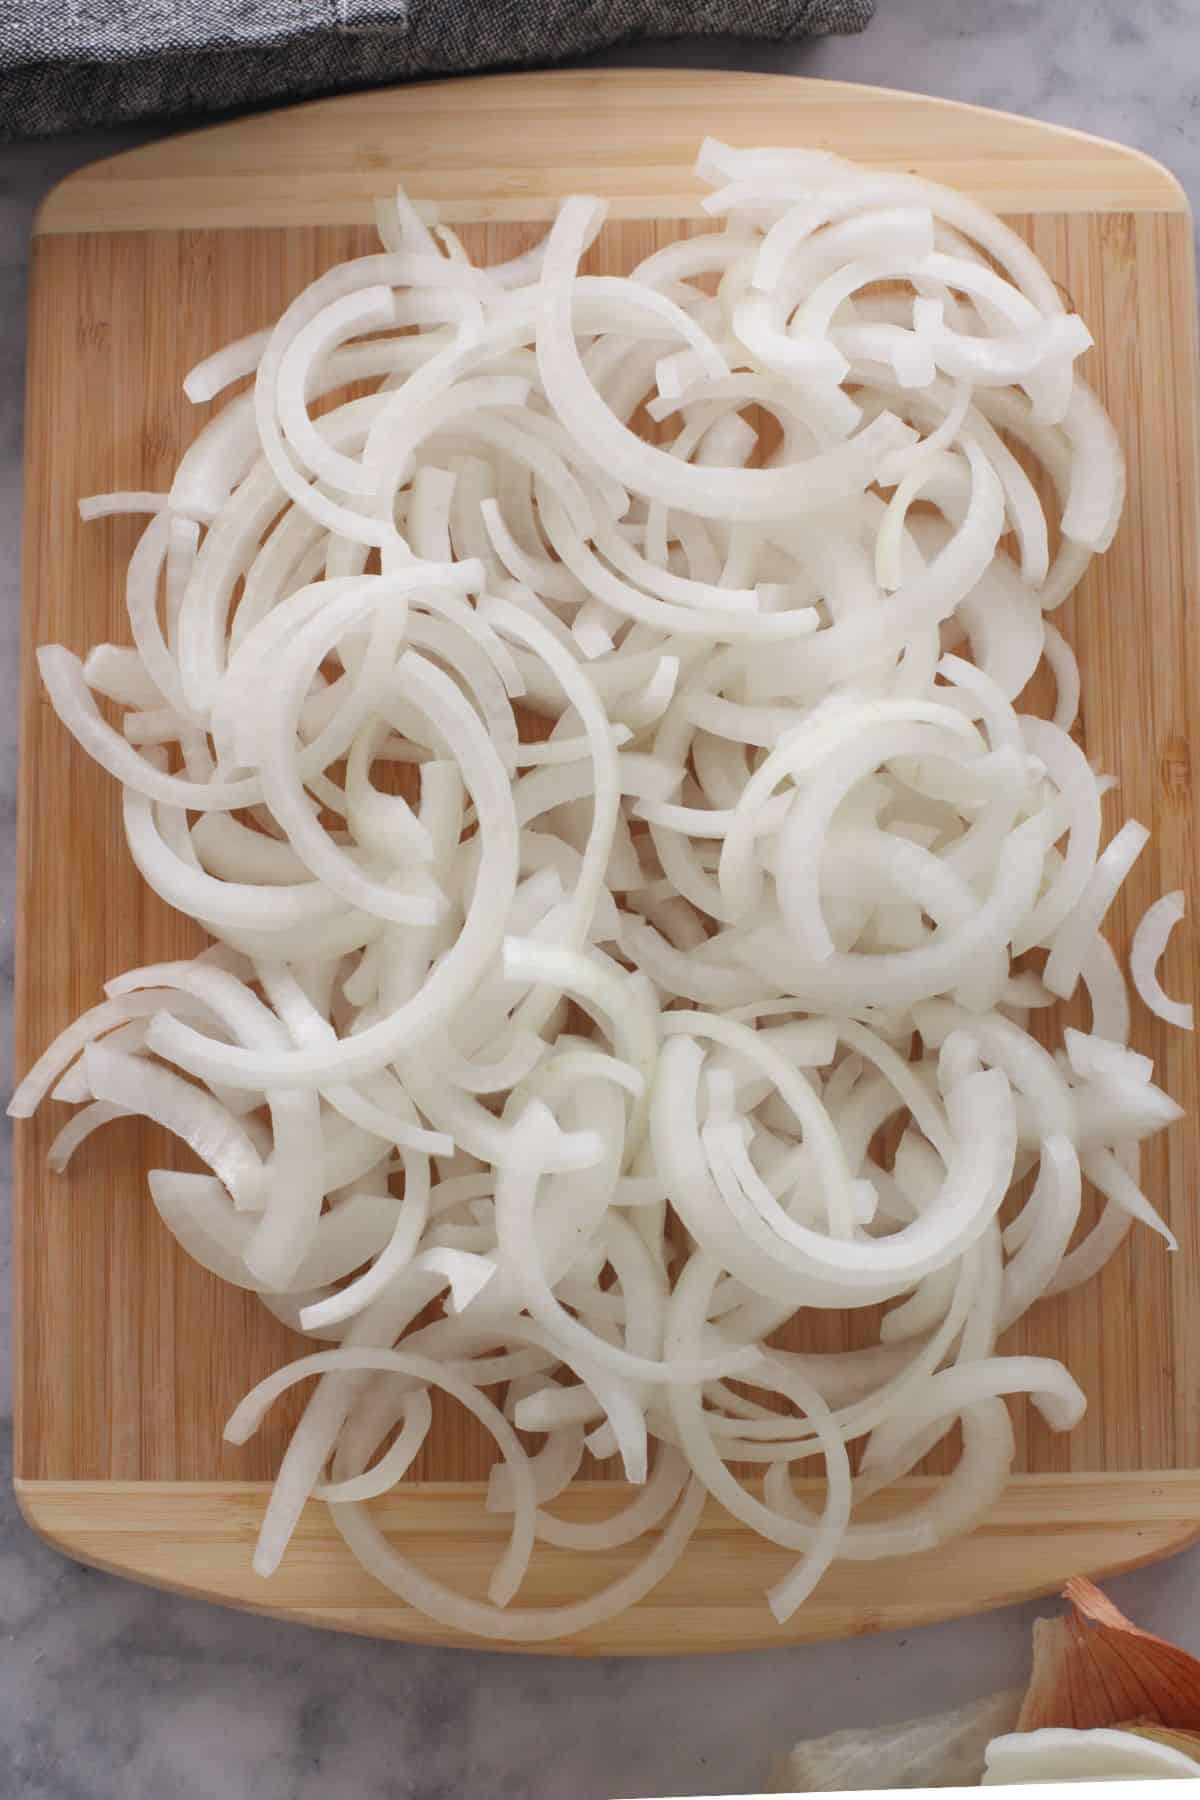
- Using a sharp knife, slice each half into half moons, thinly (but not very thin else they will break down in hot oil). Aim for uniform slices, about ⅙ inch thick. This helps them cook evenly and become crispy.
- Gently separate the onion slices into individual pieces. This ensures that the onions are not clumping to each other which leads to steaming rather that crispy slices.
A Note About Deep Frying :- When deep frying onions, our goal is to remove their moisture. Several factors influence the outcome, including the oil temperature, stirring frequency, and the thickness of the onion slices. If the oil temperature is too low or too high, the onions may either become soggy and break down or not have enough time for moisture to be properly drawn out. Thick slices won't crisp up well, while thin slices may burn quickly. Additionally, stirring too much during the initial stages, when the onion juices are being released, can cause the onions to break apart.
Make Deep Fried Onions
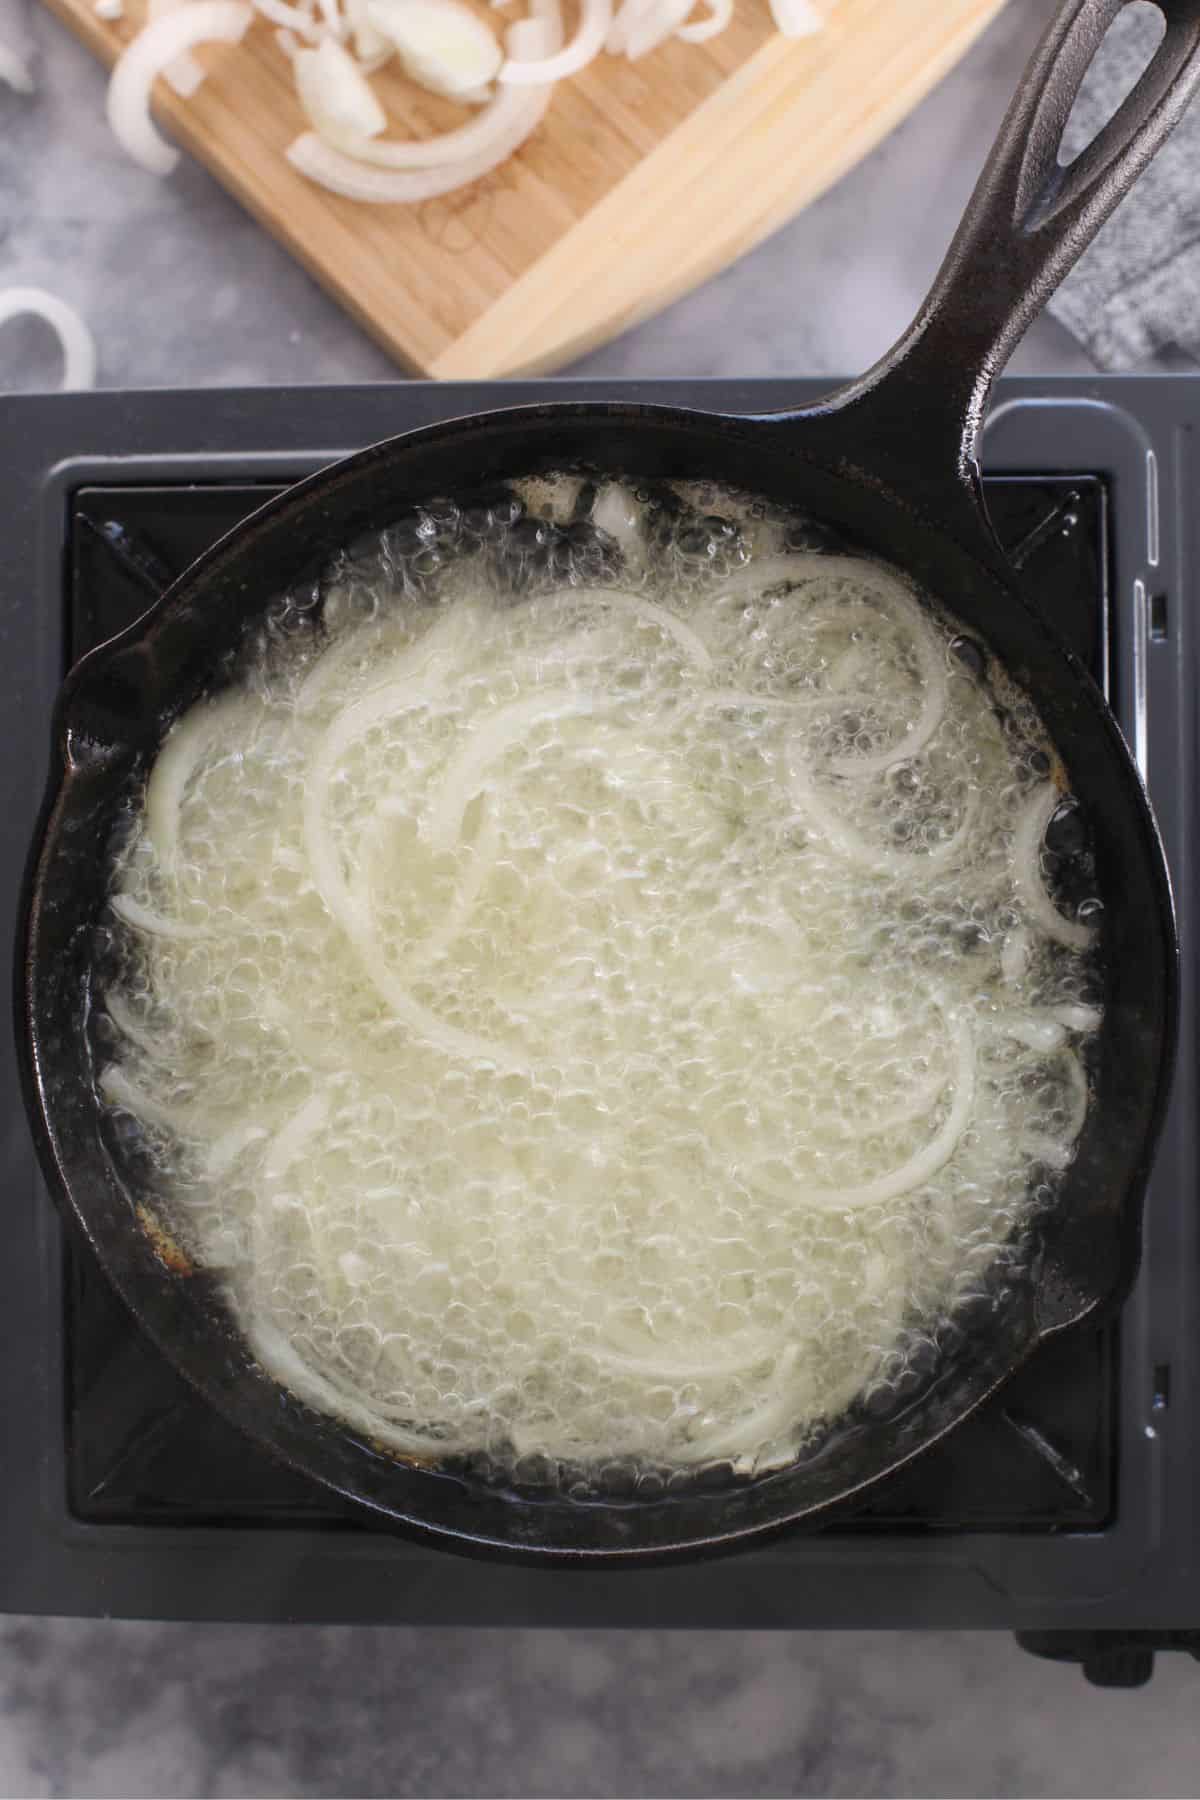
- Place a wide mouthed, deep heavy bottom pan (I use 8 inch cast iron skillet) or a kadai (indian wok works great too) on stove top. Pour enough oil so that the onion slices will submerge. Keep in mind that the larger your, the more oil you will need.
- Heat the oil over medium heat until it reaches around 350°F (175°C). You can test the oil temperature by dropping a small piece of onion into it-if it sizzles immediately, the oil is ready. Make sure that the onion should not be smoking or change color immediately.
- Add a portion of onion slices to the hot oil. Do not overcrowd else the onions will not crisp up. Gently stir the onions from time time using a slotted spoon to ensure even cooking and prevent clumping.
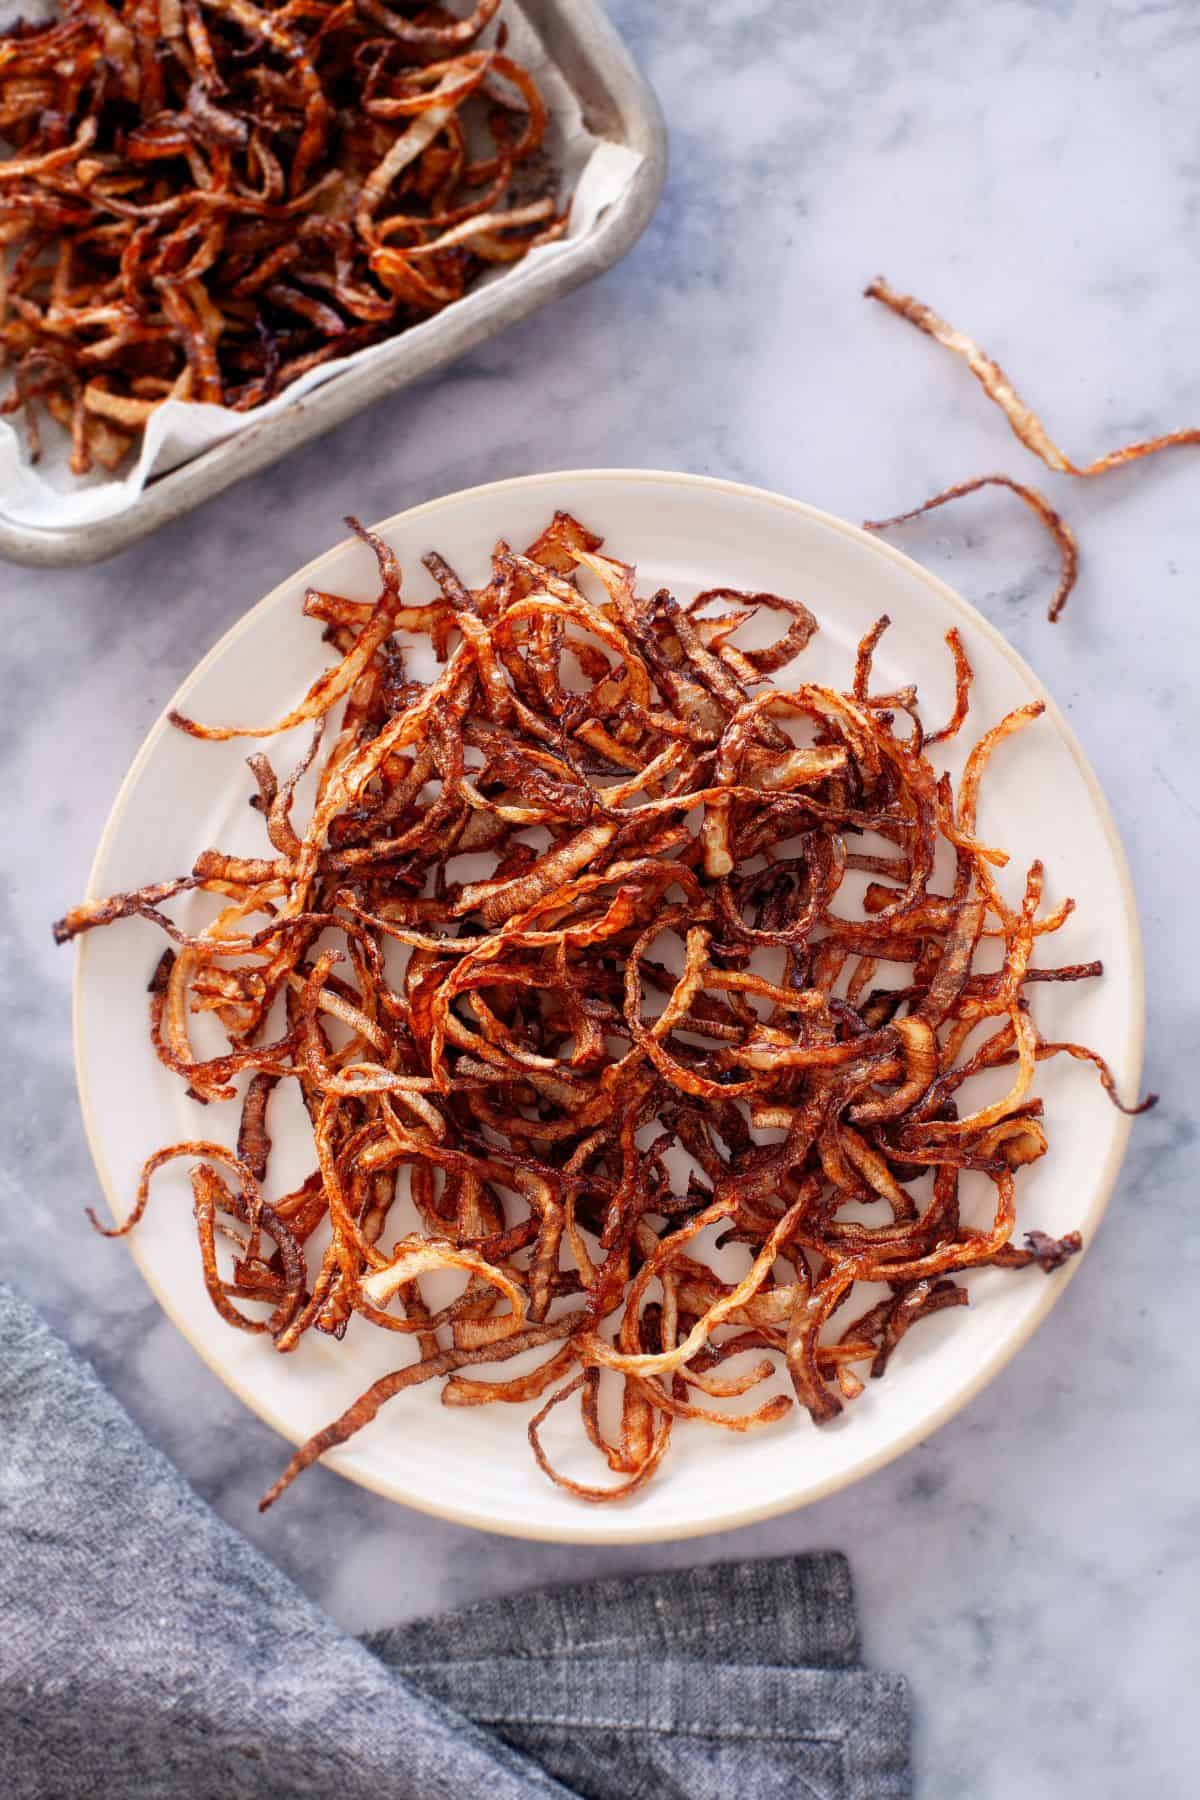
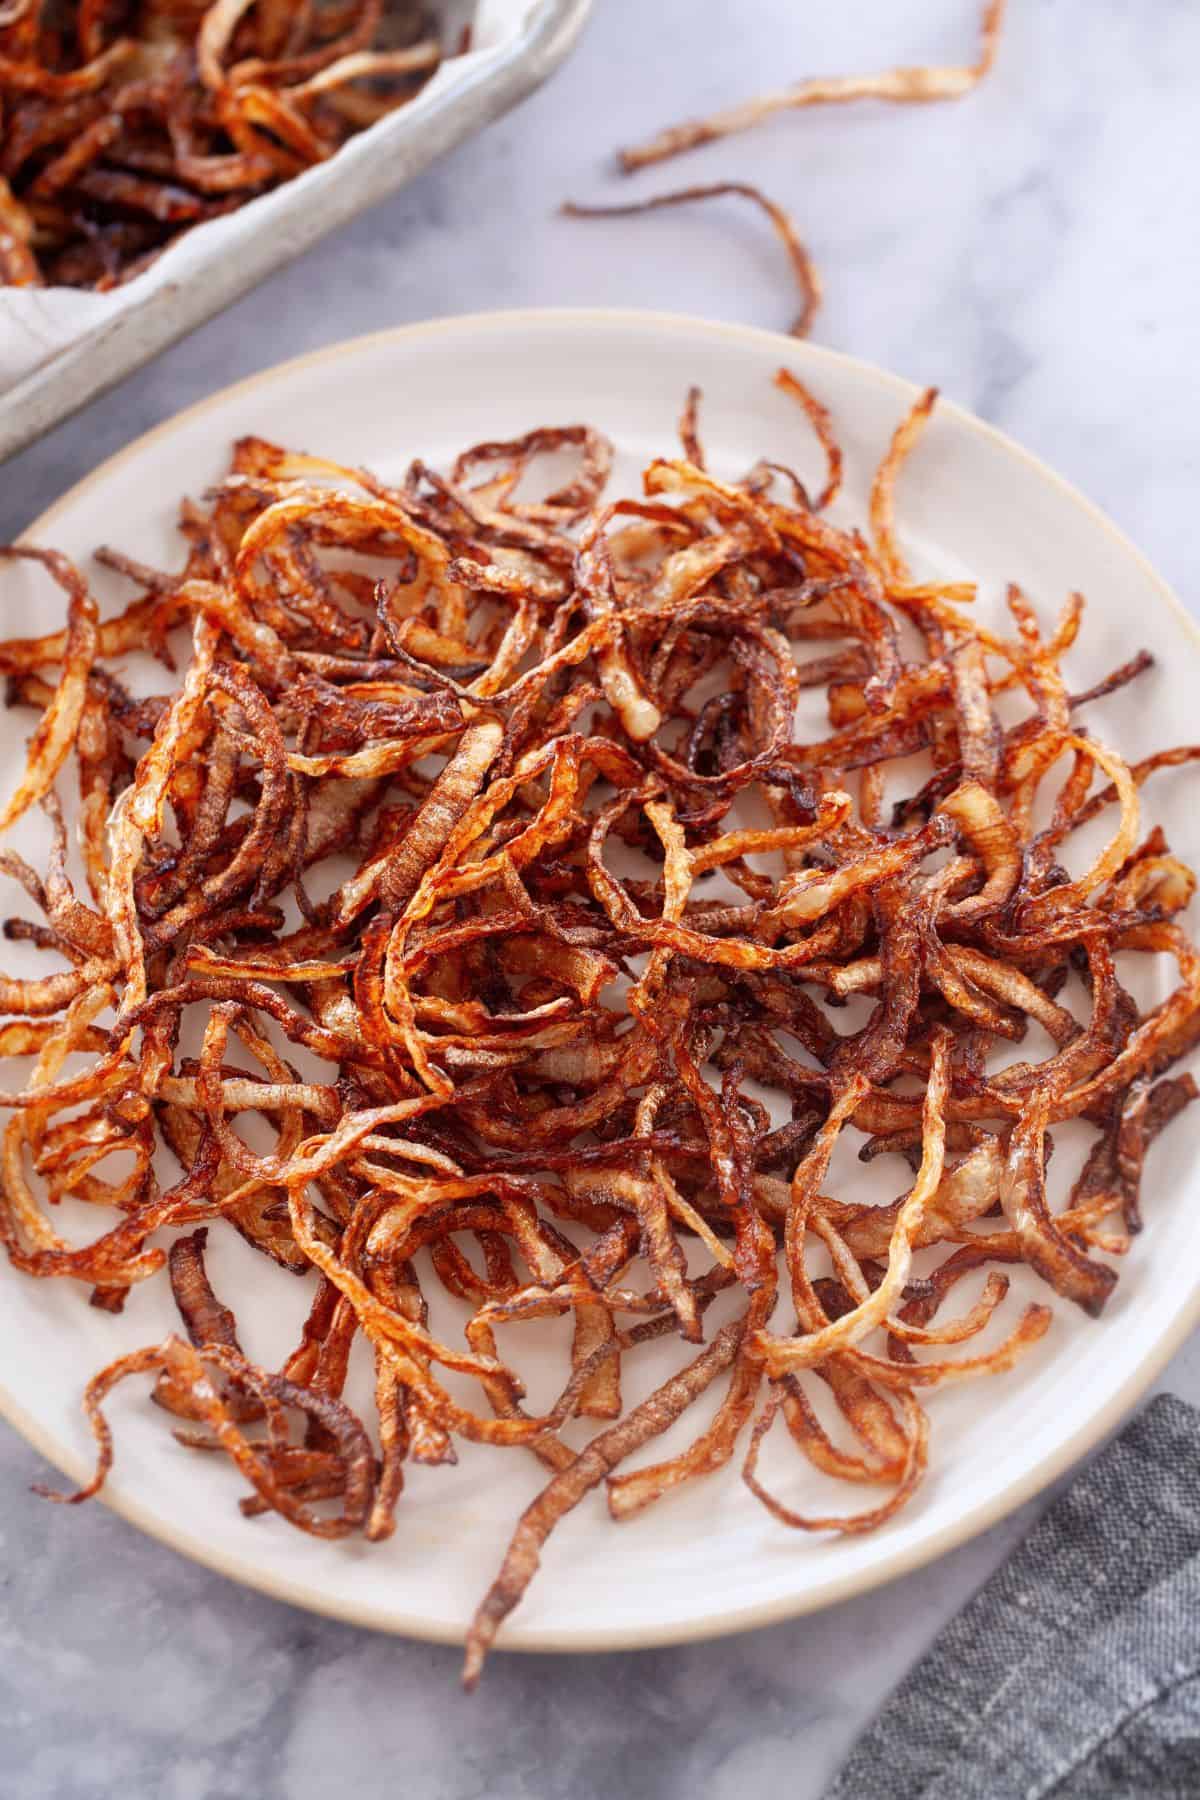
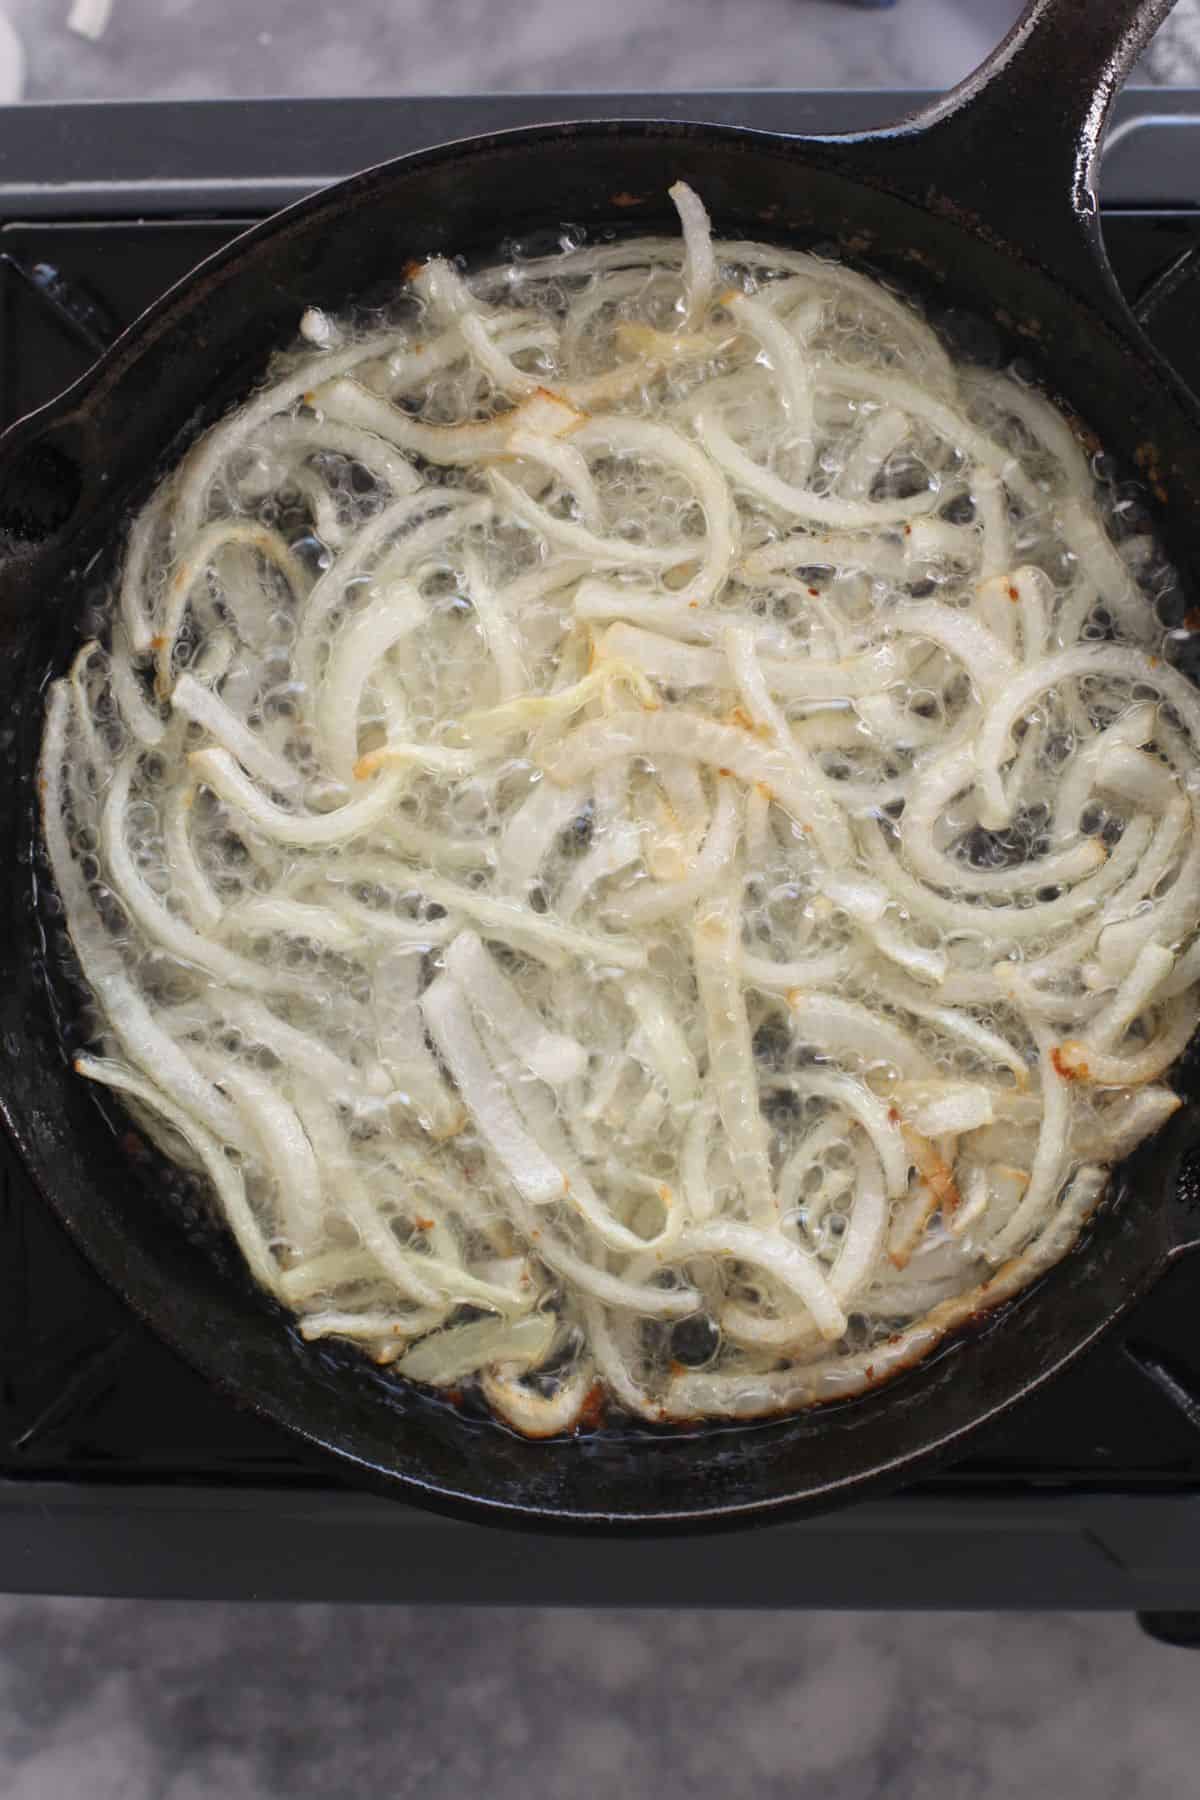
- Deep fry the onions until they turn golden brown and crispy. This usually takes 6-8 minutes per batch, but the timing can vary depending on the thickness of the slices and the oil temperature.
- Use a slotted spoon to remove the fried onions from the oil and place them on a plate or tray lined with tissue paper or paper towels to drain excess oil. Avoid placing a freshly fried batch on top of a previously cooled batch. Keep in mind to remove the onions from the hot oil before they turn dark in color, as they will continue to brown for a few minutes after being taken out.
- Allow the fried onions to cool completely. They will continue to crisp up as they cool. Once cooled completely, store them in an airtight container to keep them crispy. These deep fried onions are shelf stable for 6-8 weeks, however I prefer to store them in freezer to avoid oil getting smelly.

Tip - If desired, strain the leftover oil and you could use the leftover oil in cooking savory dishes. Most of the times, I use the oil in cooking biryani.
Air Fried Onions
I highly recommend that you take a look the video in the recipe card to get a visual idea of the air frying process. It's ~30 second video.
- Place onion slices in a larger bowl, add 1 tablespoon of oil and massage gently to coat. Be careful not to use too much oil, just enough to lightly coat the onions.
- Set your air fryer to 400°F (200°C) and preheat for about 3-5 minutes.
- Spread the onions in a single layer on the air fryer basket in a single layer. You might have to cook in batches to avoid overcrowding, which can lead to uneven crisping.
- Air fry the onions for 8-10 minutes, shaking the basket or mixing the onions after every 5 times in between to ensure even cooking. Gently stir the onions using a rubber spatula in between.
- Reduce the temperature to 320F (160C) and air fry again for total of 8-10 minutes, mixing every 4-5 minutes using a spatula.Please keep an eye on them towards the end of the cooking time, as they can quickly go from crispy to burnt.
- Once the onions are golden brown and crispy, remove them from the air fryer basket and spread on a paper towel lined tray to cool. They will become crispier and darketr as they cool down. Store in an airtight container to keep them crunchy.

How to Use
- Use fried onions while layering biryani and pulao.
- Grind them with yogurt or crush with hands and use while making sauces for paneer korma or chicken korma.
- Birista onions are delicous topping for dal tadka, soups and salads.
How To Make Crispy Deep-Fried Onions (Air fryer Option)
Ingredients
- 500 g onion use yellow or red onion
- 2-3 cup oil for deep frying, use any neutral oil for frying
Instructions
CUT ONIONS FOR MAKING BIRISTA
- Start by peeling the onions and trimming off the root ends.
- It is best to cut onion into half lengthwise from stem side to root side. Rest one half on the chopping board, flat side down.
- Using a sharp knife, slice each half into half moons, thinly (but not very thin else they will break down in hot oil). Aim for uniform slices, about ? inch thick. This helps them cook evenly and become crispy.
- Gently separate the onion slices into individual pieces. This ensures that the onions are not clumping to each other which leads to steaming rather that crispy slices.
MAKE DEEP FRIED ONIONS
- Place a wide mouthed, deep heavy bottom pan (I use 8 inch cast iron skillet) or a kadai (indian wok works great too) on stove top. Pour enough oil so that the onion slices will submerge. Keep in mind that the larger your, the more oil you will need.
- Heat the oil over medium heat until it reaches around 350°F (175°C). You can test the oil temperature by dropping a small piece of onion into it-if it sizzles immediately, the oil is ready. Make sure that the onion should not be smoking or change color immediately.
- Add a portion of onion slices to the hot oil. Do not overcrowd else the onions will not crisp up. Gently stir the onions from time time using a slotted spoon to ensure even cooking and prevent clumping
- Deep fry the onions until they turn golden brown and crispy. This usually takes 6-8 minutes per batch, but the timing can vary depending on the thickness of the slices and the oil temperature.
- Use a slotted spoon to remove the fried onions from the oil and place them on a plate or tray lined with tissue paper or paper towels to drain excess oil. Avoid placing a freshly fried batch on top of a previously cooled batch.Keep in mind to remove the onions from the hot oil before they turn dark in color, as they will continue to brown for a few minutes after being taken out. Repeat the remaining batches.
- Allow the fried onions to cool completely. They will continue to crisp up as they cool. Once cooled completely, store them in an airtight container to keep them crispy. These deep fried onions are shelf stable for 6-8 weeks, however I prefer to store them in freezer to avoid oil getting smelly.Tip - If desired, strain the leftover oil and you could use the leftover oil in cooking savory dishes. Most of the times, I use the oil in cooking biryani.
AIR FRIED CRISPY ONIONS
- Place onion slices in a larger bowl, add 1 tablespoon of oil and massage gently to coat. Be careful not to use too much oil, just enough to lightly coat the onions.
- Set your air fryer to 400°F (200°C) and preheat for about 3-5 minutes.Spread the onions in a single layer on the air fryer basket in a single layer. For reference I used inbuilt air fryer in my toaster oven.
- Air fry the onions for 8-10 minutes, shaking the basket or mixing the onions after every 5 minutes in between to ensure even cooking. Gently stir the onions using a rubber spatula in between.
- Reduce the temperature to 320F (160C) and air fry again for total of 8-10 minutes, mixing every 4-5 minutes using a spatula.Please keep an eye on them towards the end of the cooking time, as they can quickly go from crispy to burnt.
- Once the onions are golden brown and crispy, remove them from the air fryer basket and spread on a paper towel lined tray to cool. They will become crispier and darketr as they cool down. Store in an airtight container to keep them crunchy.
Video
Notes
- Use fried onions while layering biryani and pulao.
- Grind them with yogurt or crush with hands and use while making sauces for paneer korma or chicken korma.
- Birista onions are delicous topping for dal, soups and salads.
Junia says
Mmmm! So amazing and I had never thought to fry onions like this! So crispy, simple, and tasty. 5/5
Tanvi Srivastava says
Thank you!
Mekhala says
Wow, this recipe looks amazing! I’ve always struggled to get my fried onions crispy, but using the air fryer seems like such a game-changer. I love how simple and detailed the instructions are. Can’t wait to try this out next time I make burgers or add them to my salads. Thanks for sharing this tasty tip! ?